前言
阅读此教程需要一定的C++和JUCE基础。
我的Bilibili频道:香芋派Taro
我的个人博客:taropie0224.github.io
我的公众号:香芋派的烘焙坊
我的音频技术交流群:1136403177
我的个人微信:JazzyTaroPie
最近学生的合成器设计课要结课了,为了帮他更好地梳理一遍(也为了帮我自己更好地梳理一遍…),所以还是开了这个坑…从零到一来聊聊怎么去搭建一个合成器。当然在这之前我还是希望你有一定的C++基础,最好知道什么指针什么是虚函数balabala的,否则可能阅读起来还是比较痛苦的。
创建项目
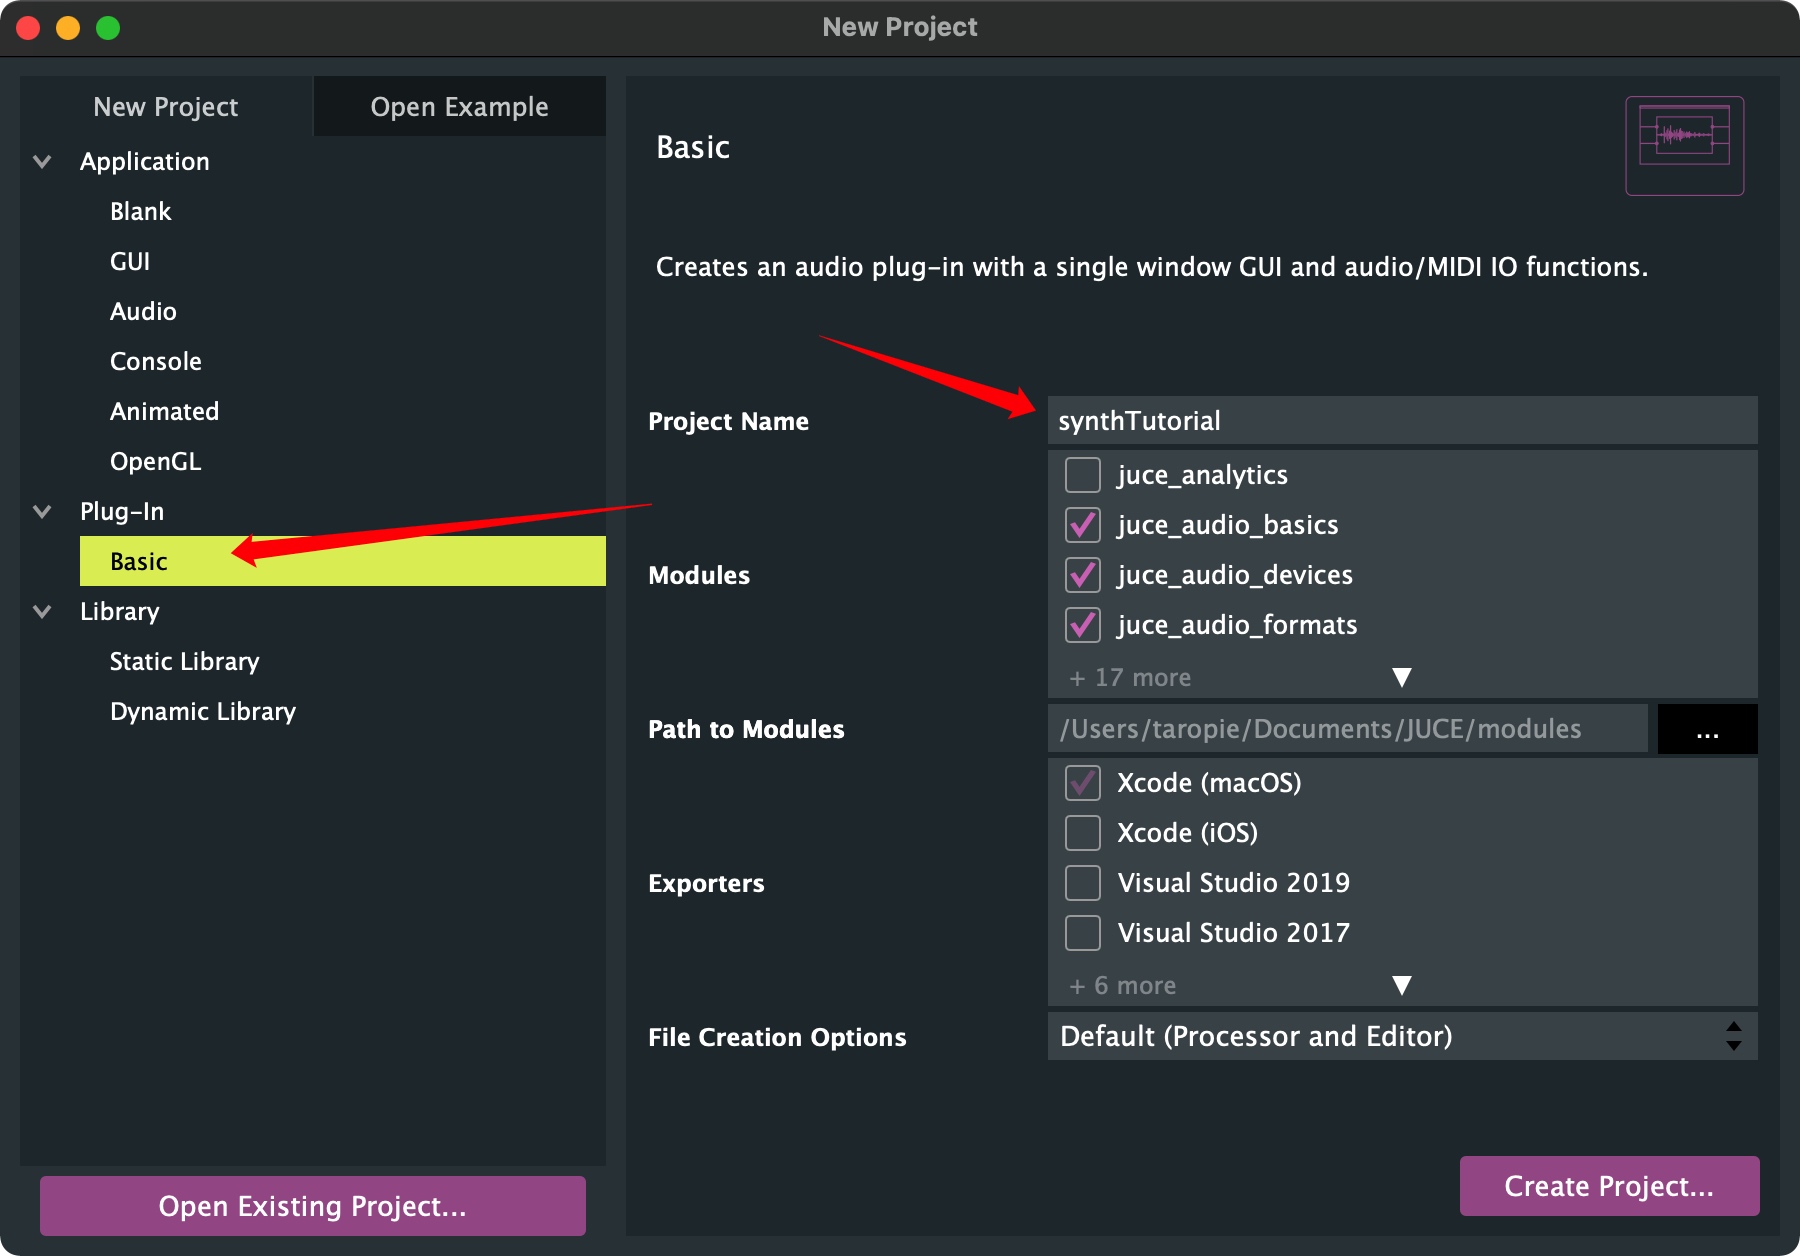
创建一个叫做synthTutorial的Plugin项目:
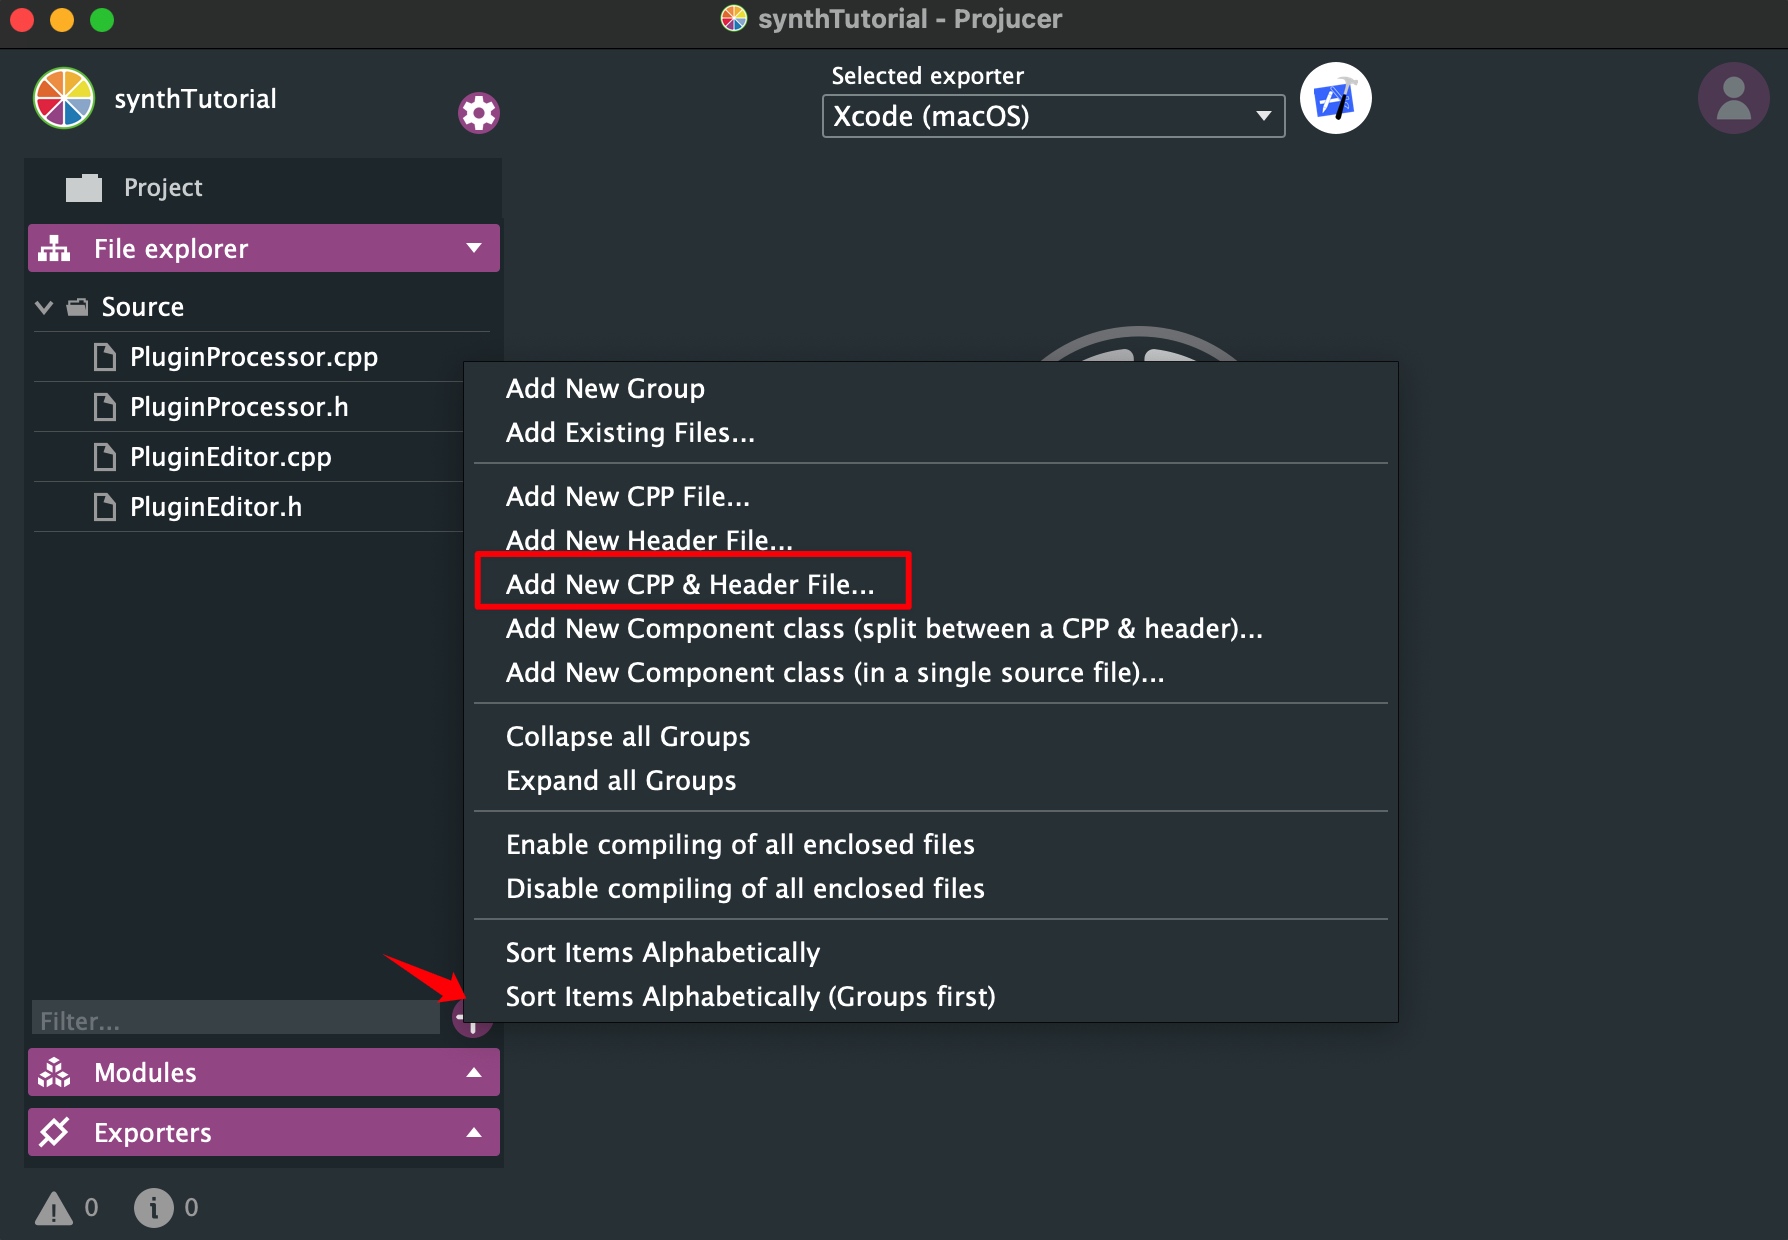
如下创建SynthVoice.h/.cpp:
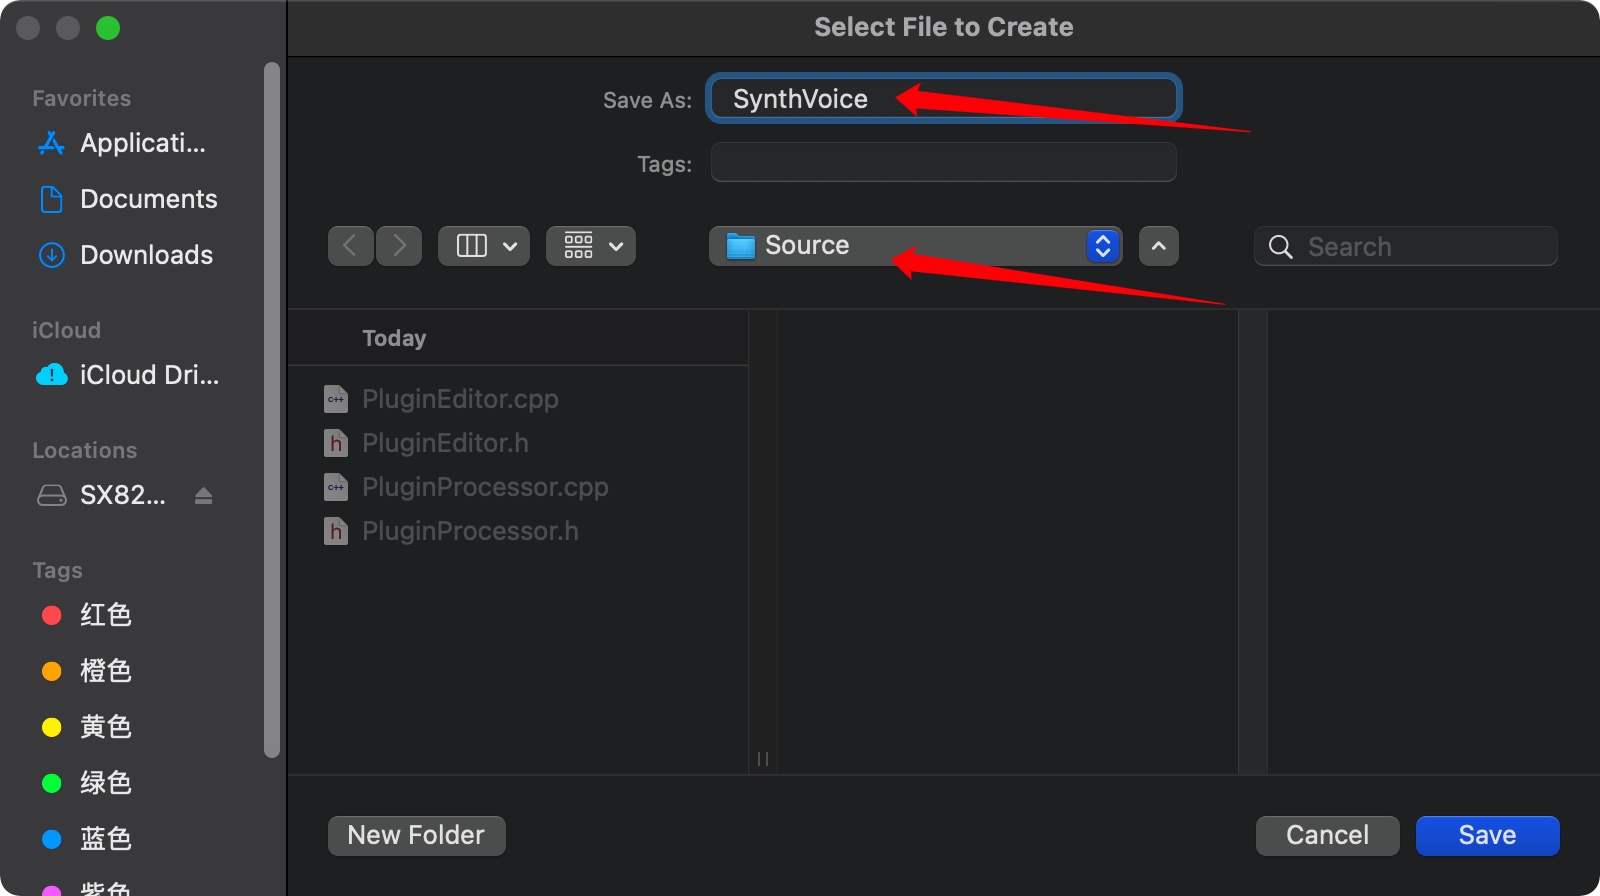
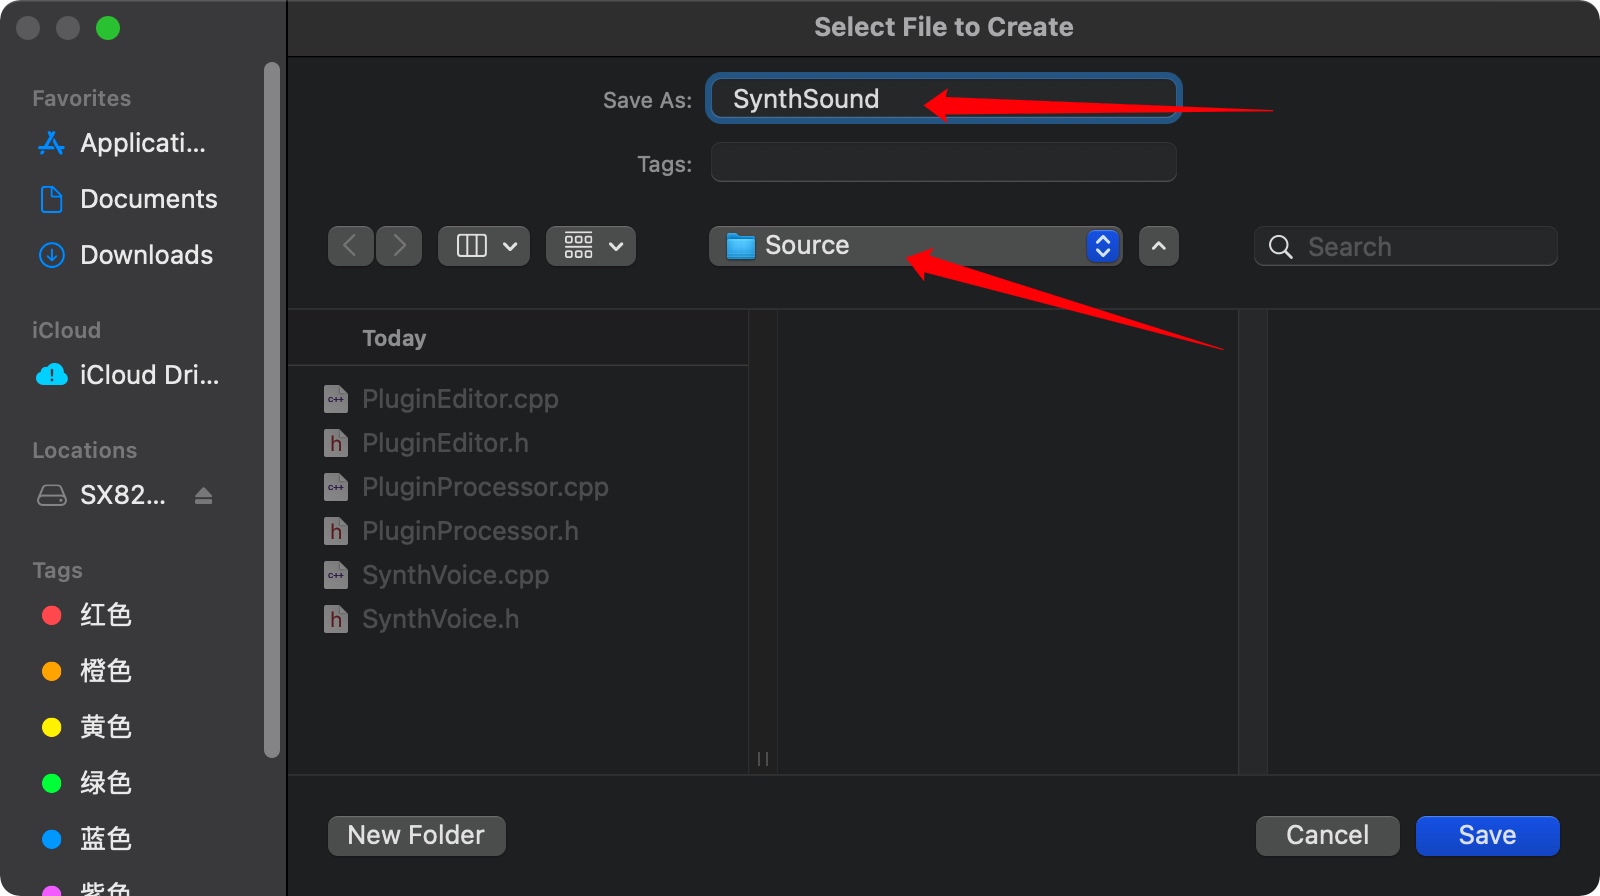
如下创建SynthSound.h:
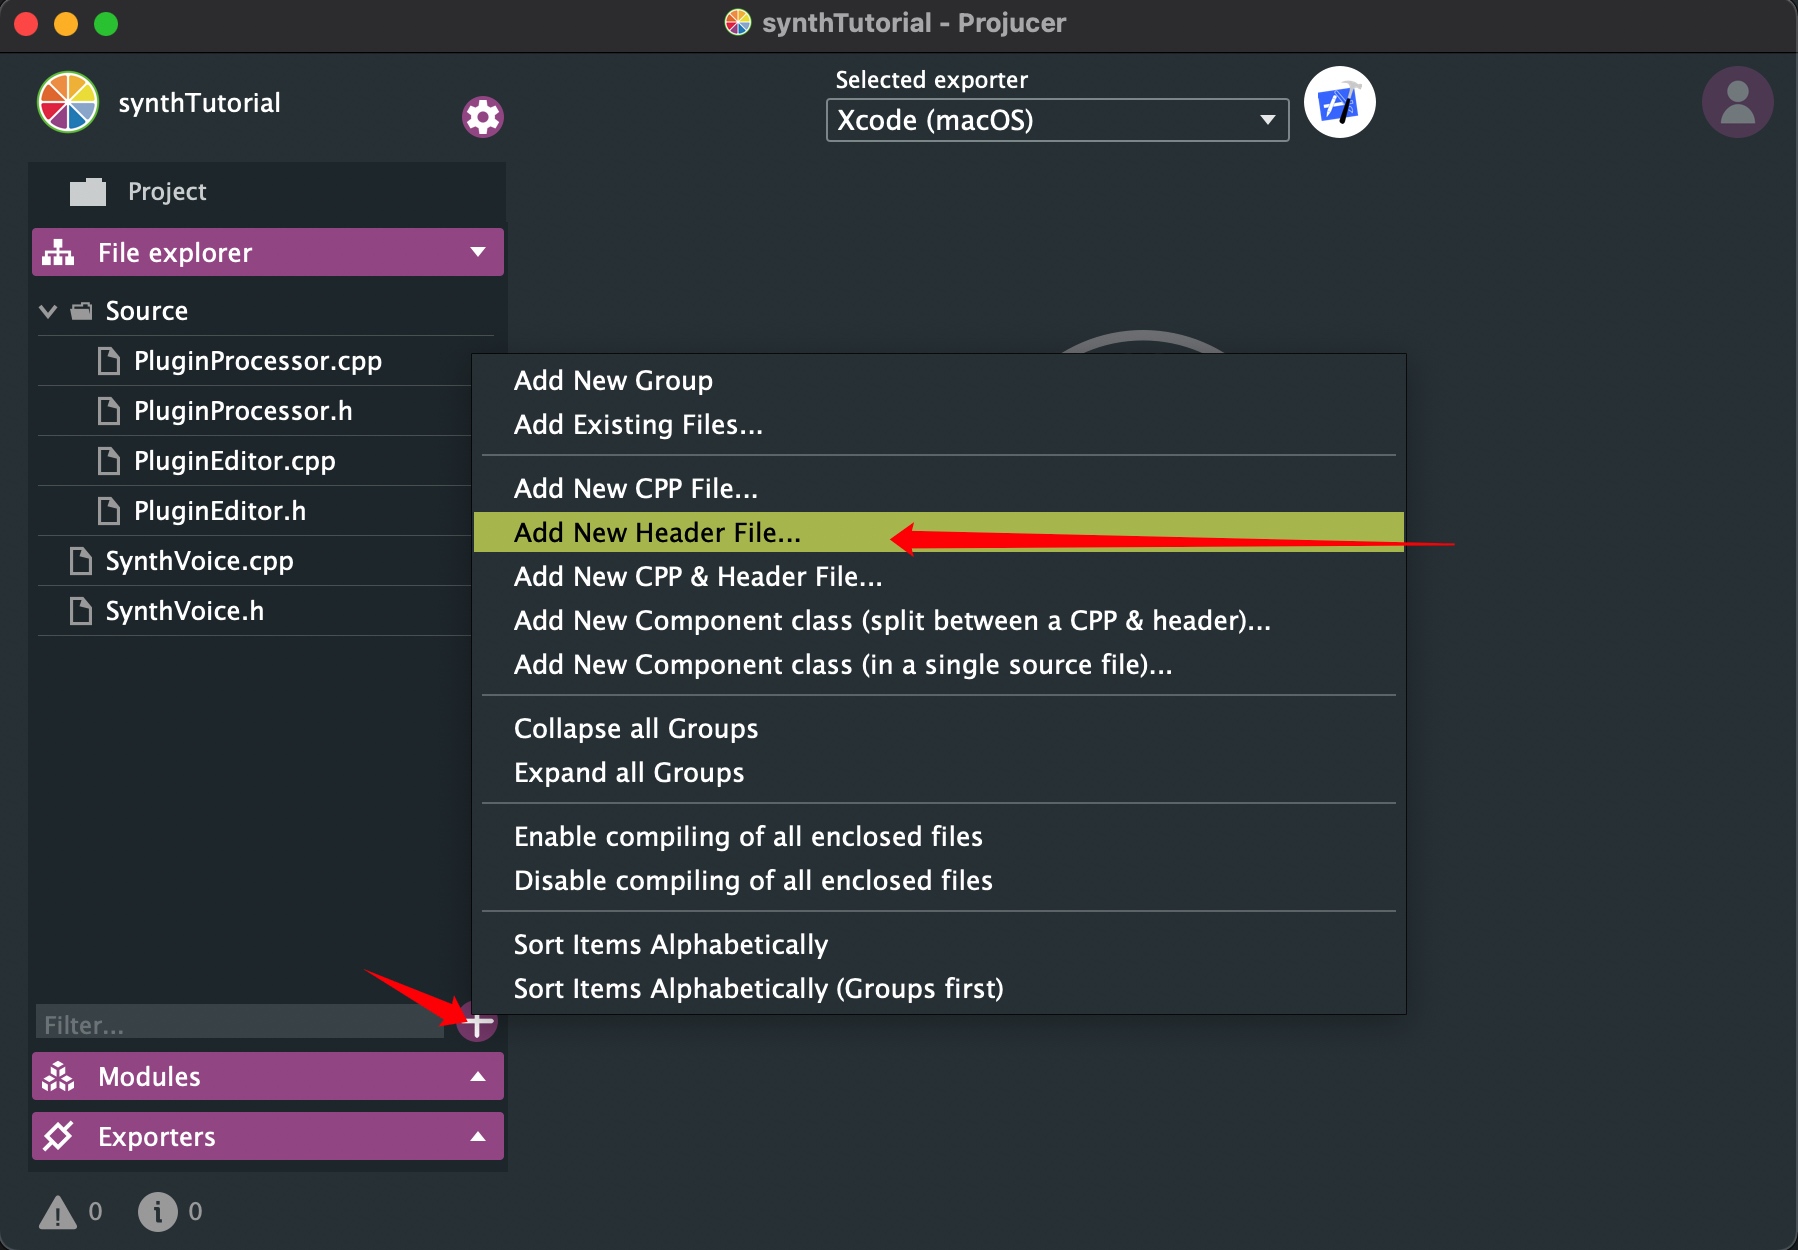
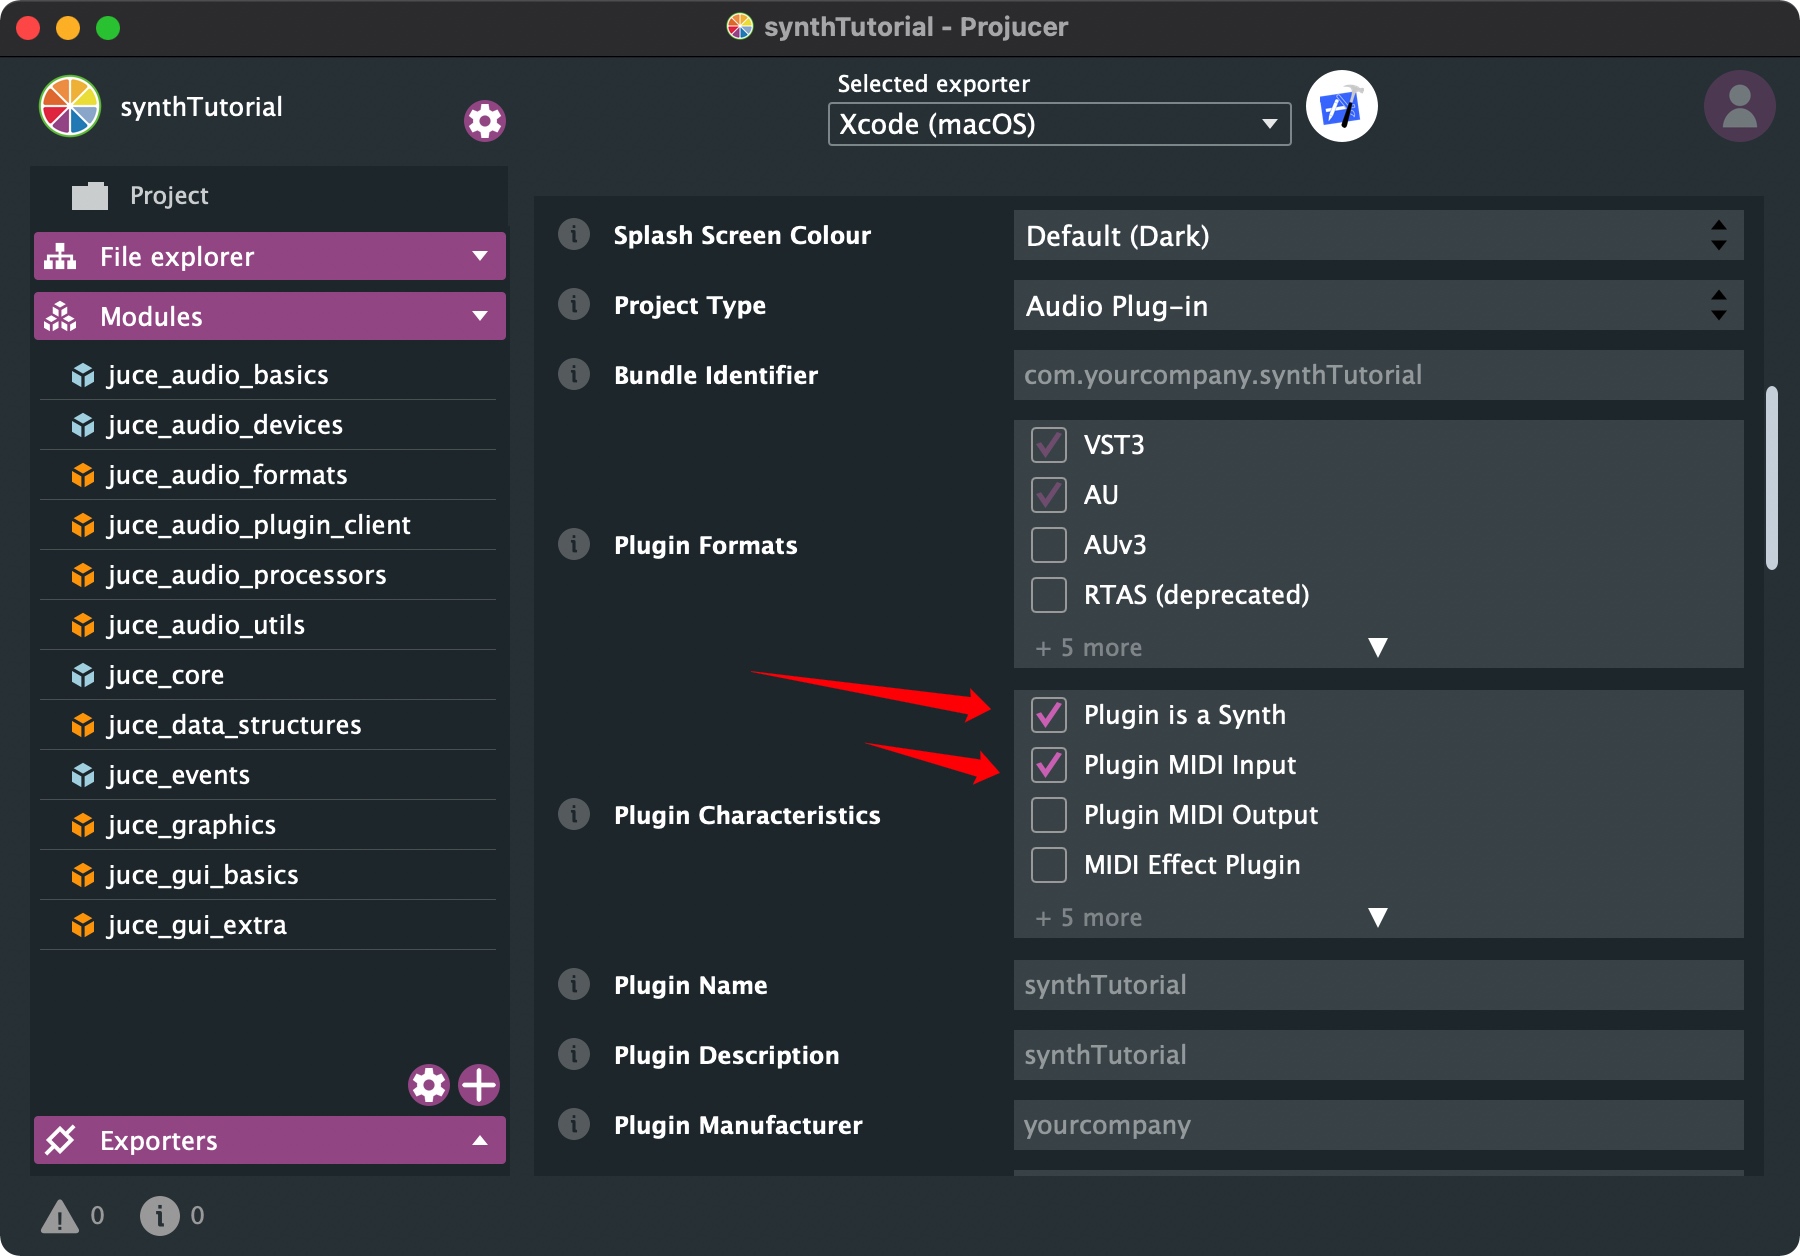
确保勾选了这些选项:
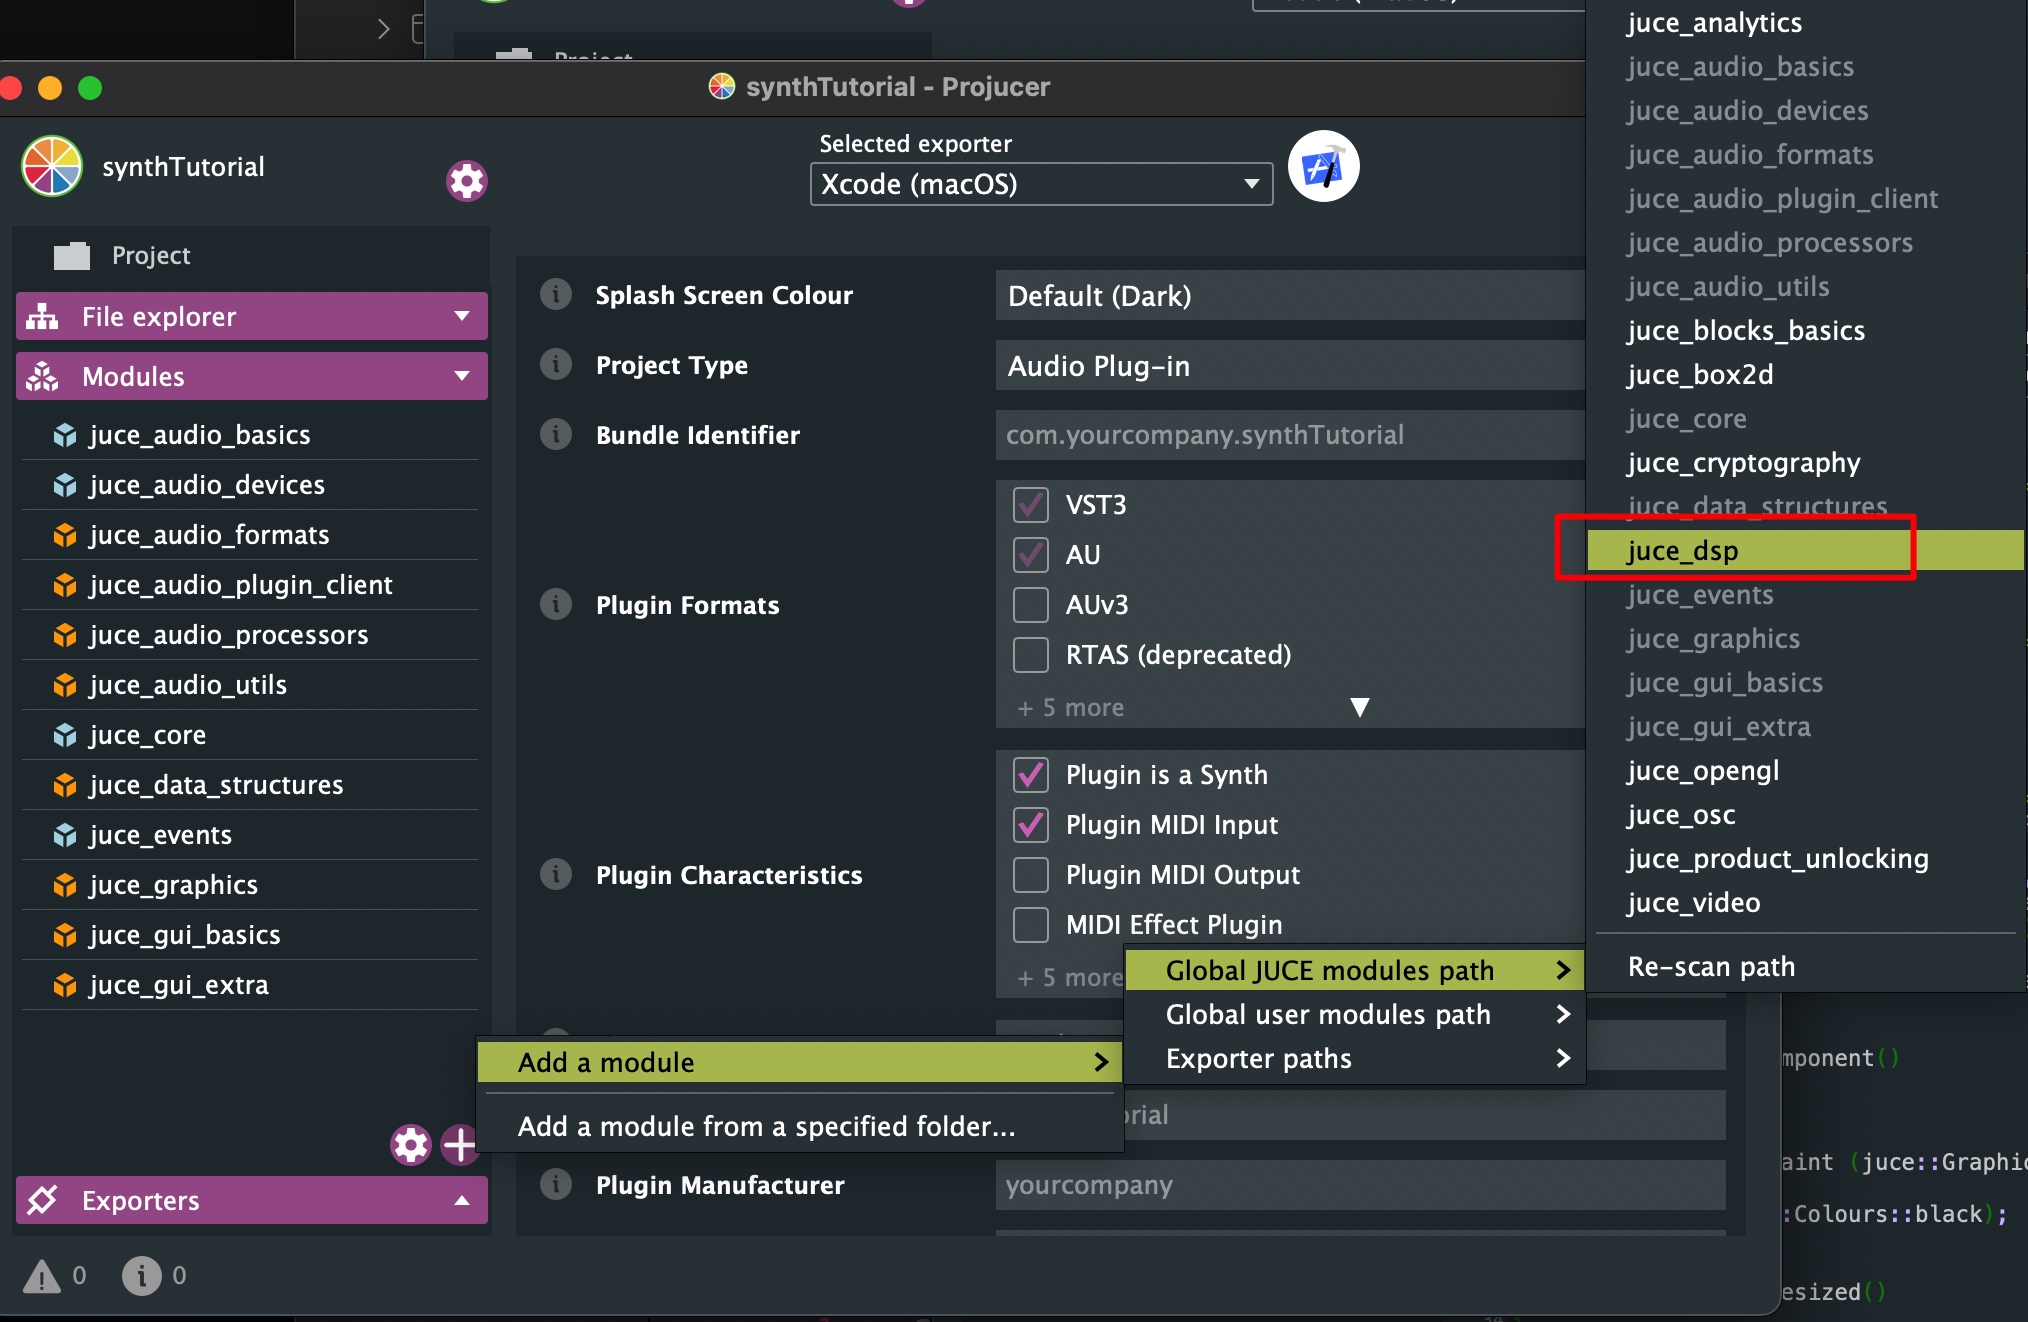
记得添加dsp module:
完成SynthSound和SynthVoice的基本框架
SynthSound
参考官方doc:https://docs.juce.com/master/classSynthesiserSound.html
代码如下:
1
2
3
4
5
6
7
8
9
10
11
12
|
#pragma once
#include <JuceHeader.h>
class SynthSound : public juce::SynthesiserSound
{
public:
bool appliesToNote (int midiNoteNumber) override { return true; }
bool appliesToChannel (int midiChannel) override { return true; }
};
|
注意由于是虚函数,记得使用override增加可读性。
SynthVoice
参考官方doc:https://docs.juce.com/master/classSynthesiserVoice.html
代码如下:
1
2
3
4
5
6
7
8
9
10
11
12
13
14
15
16
17
18
|
#pragma once
#include <JuceHeader.h>
#include "SynthSound.h"
class SynthVoice : public juce::SynthesiserVoice
{
public:
bool canPlaySound (juce::SynthesiserSound* sound) override;
void startNote (int midiNoteNumber, float velocity, juce::SynthesiserSound* sound, int currentPitchWheelPosition) override;
void stopNote (float velocity, bool allowTailOff) override;
void controllerMoved (int controllerNumber, int newControllerValue) override;
void pitchWheelMoved (int newPitchWheelValue) override;
void renderNextBlock (juce::AudioBuffer< float > &outputBuffer, int startSample, int numSamples) override;
private:
};
|
1
2
3
4
5
6
7
8
9
10
11
12
13
14
15
16
17
18
19
20
21
22
23
24
25
26
27
28
29
30
31
32
33
|
#include "SynthVoice.h"
bool SynthVoice::canPlaySound (juce::SynthesiserSound* sound)
{
return dynamic_cast<juce::SynthesiserSound*>(sound) != nullptr;
}
void SynthVoice::startNote (int midiNoteNumber, float velocity, juce::SynthesiserSound* sound, int currentPitchWheelPosition)
{
}
void SynthVoice::stopNote (float velocity, bool allowTailOff)
{
}
void SynthVoice::controllerMoved (int controllerNumber, int newControllerValue)
{
}
void SynthVoice::pitchWheelMoved (int newPitchWheelValue)
{
}
void SynthVoice::renderNextBlock (juce::AudioBuffer< float > &outputBuffer, int startSample, int numSamples)
{
}
|
搭建Synth基本框架
首先来到PluginProcessor.h中的private处,初始化synth对象:
1
2
3
4
5
6
7
|
private:
juce::Synthesiser synth;
JUCE_DECLARE_NON_COPYABLE_WITH_LEAK_DETECTOR (SynthTutorialAudioProcessor)
};
|
addSound/addVoice
一切从简,我们暂时只搭建一个只有一个SynthSound一个SynthVoice且单声道的synth,来到PluginProcessor.cpp的构造函数中,添加如下:
1
2
3
4
5
6
7
8
9
10
11
12
13
14
15
| SynthTutorialAudioProcessor::SynthTutorialAudioProcessor()
#ifndef JucePlugin_PreferredChannelConfigurations
: AudioProcessor (BusesProperties()
#if ! JucePlugin_IsMidiEffect
#if ! JucePlugin_IsSynth
.withInput ("Input", juce::AudioChannelSet::stereo(), true)
#endif
.withOutput ("Output", juce::AudioChannelSet::stereo(), true)
#endif
)
#endif
{
synth.addSound(new SynthSound());
synth.addVoice(new SynthVoice());
}
|
oh,记得要在PluginProcessor.h中先引入,否则会报错:
1
2
3
4
5
6
7
|
#pragma once
#include <JuceHeader.h>
#include "SynthSound.h"
#include "SynthVoice.h"
|
来到PluginProcessor.cpp中的prepareToPlay设定samplerate:
1
2
3
4
5
6
7
|
...
void SynthTutorialAudioProcessor::prepareToPlay (double sampleRate, int samplesPerBlock)
{
synth.setCurrentPlaybackSampleRate(sampleRate);
}
...
|
来到PluginProcessor.cpp中的processBlock设定处理框架和renderNextBlock:
1
2
3
4
5
6
7
8
9
10
11
12
13
14
15
16
17
18
19
20
21
22
23
24
|
...
void SynthTutorialAudioProcessor::processBlock (juce::AudioBuffer<float>& buffer, juce::MidiBuffer& midiMessages)
{
juce::ScopedNoDenormals noDenormals;
auto totalNumInputChannels = getTotalNumInputChannels();
auto totalNumOutputChannels = getTotalNumOutputChannels();
for (auto i = totalNumInputChannels; i < totalNumOutputChannels; ++i)
buffer.clear (i, 0, buffer.getNumSamples());
for (int i = 0; i < synth.getNumVoices(); ++i)
{
if (auto voice = dynamic_cast<juce::SynthesiserVoice*>(synth.getVoice(i)));
{
}
}
synth.renderNextBlock(buffer, midiMessages, 0, buffer.getNumSamples());
}
...
|


