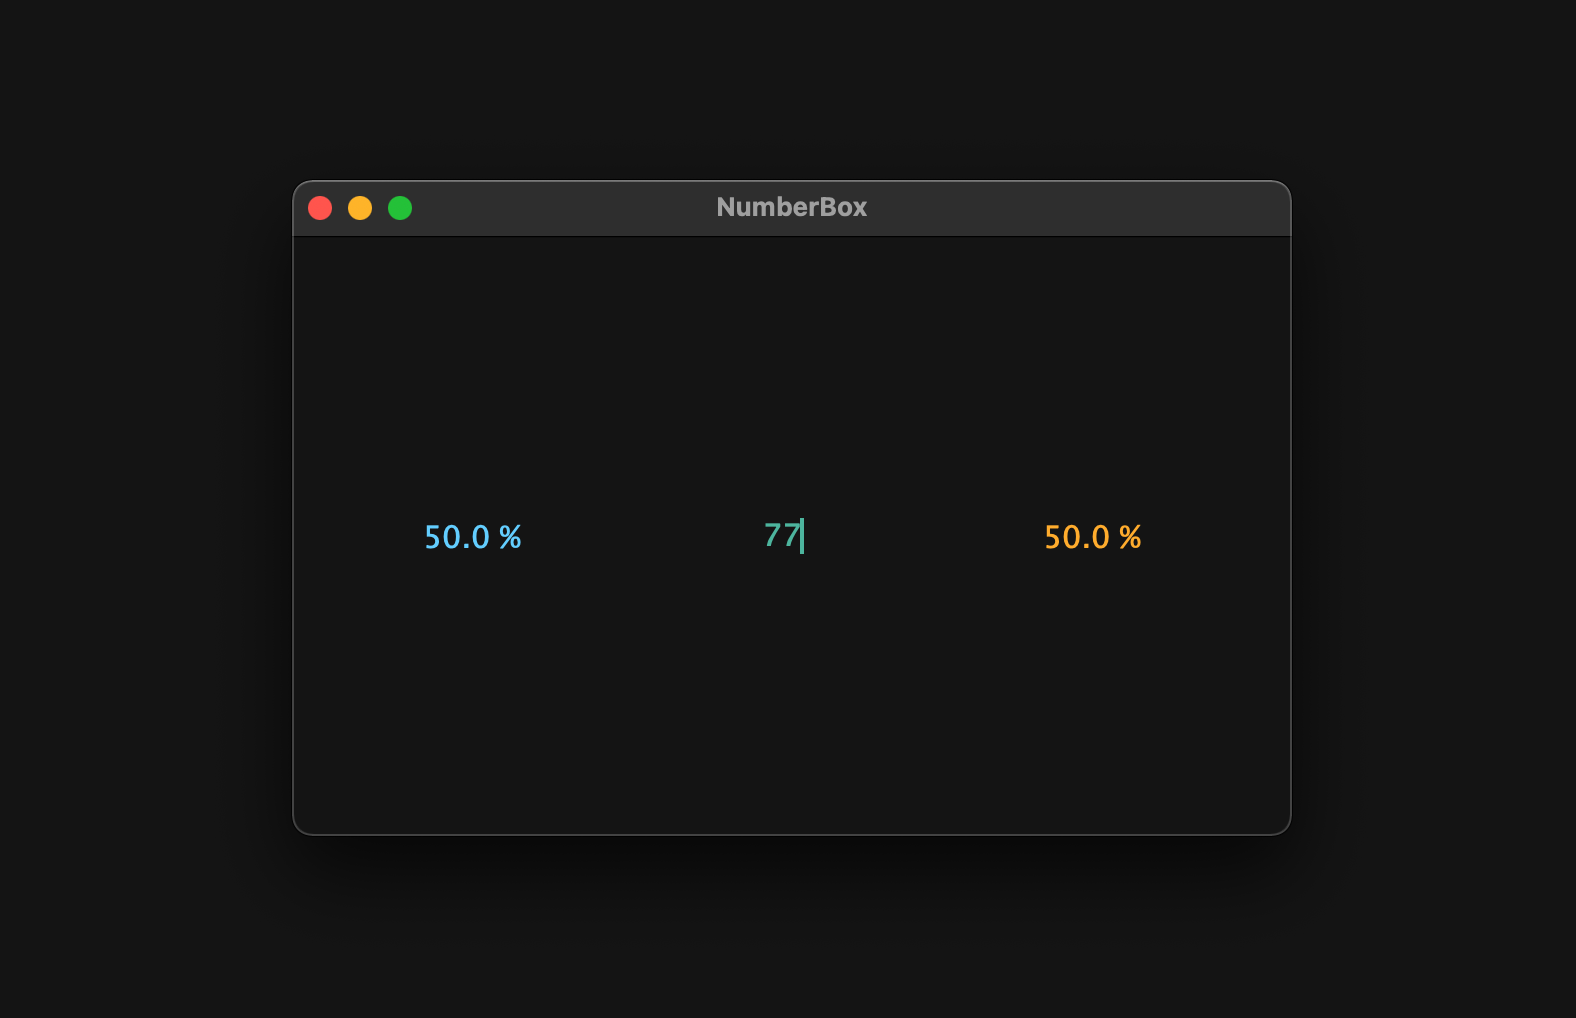
前言 阅读此教程需要一定的C++和JUCE基础,如果没有可以翻阅我以往的视频和文章。https://github.com/szkkng/NumberBox
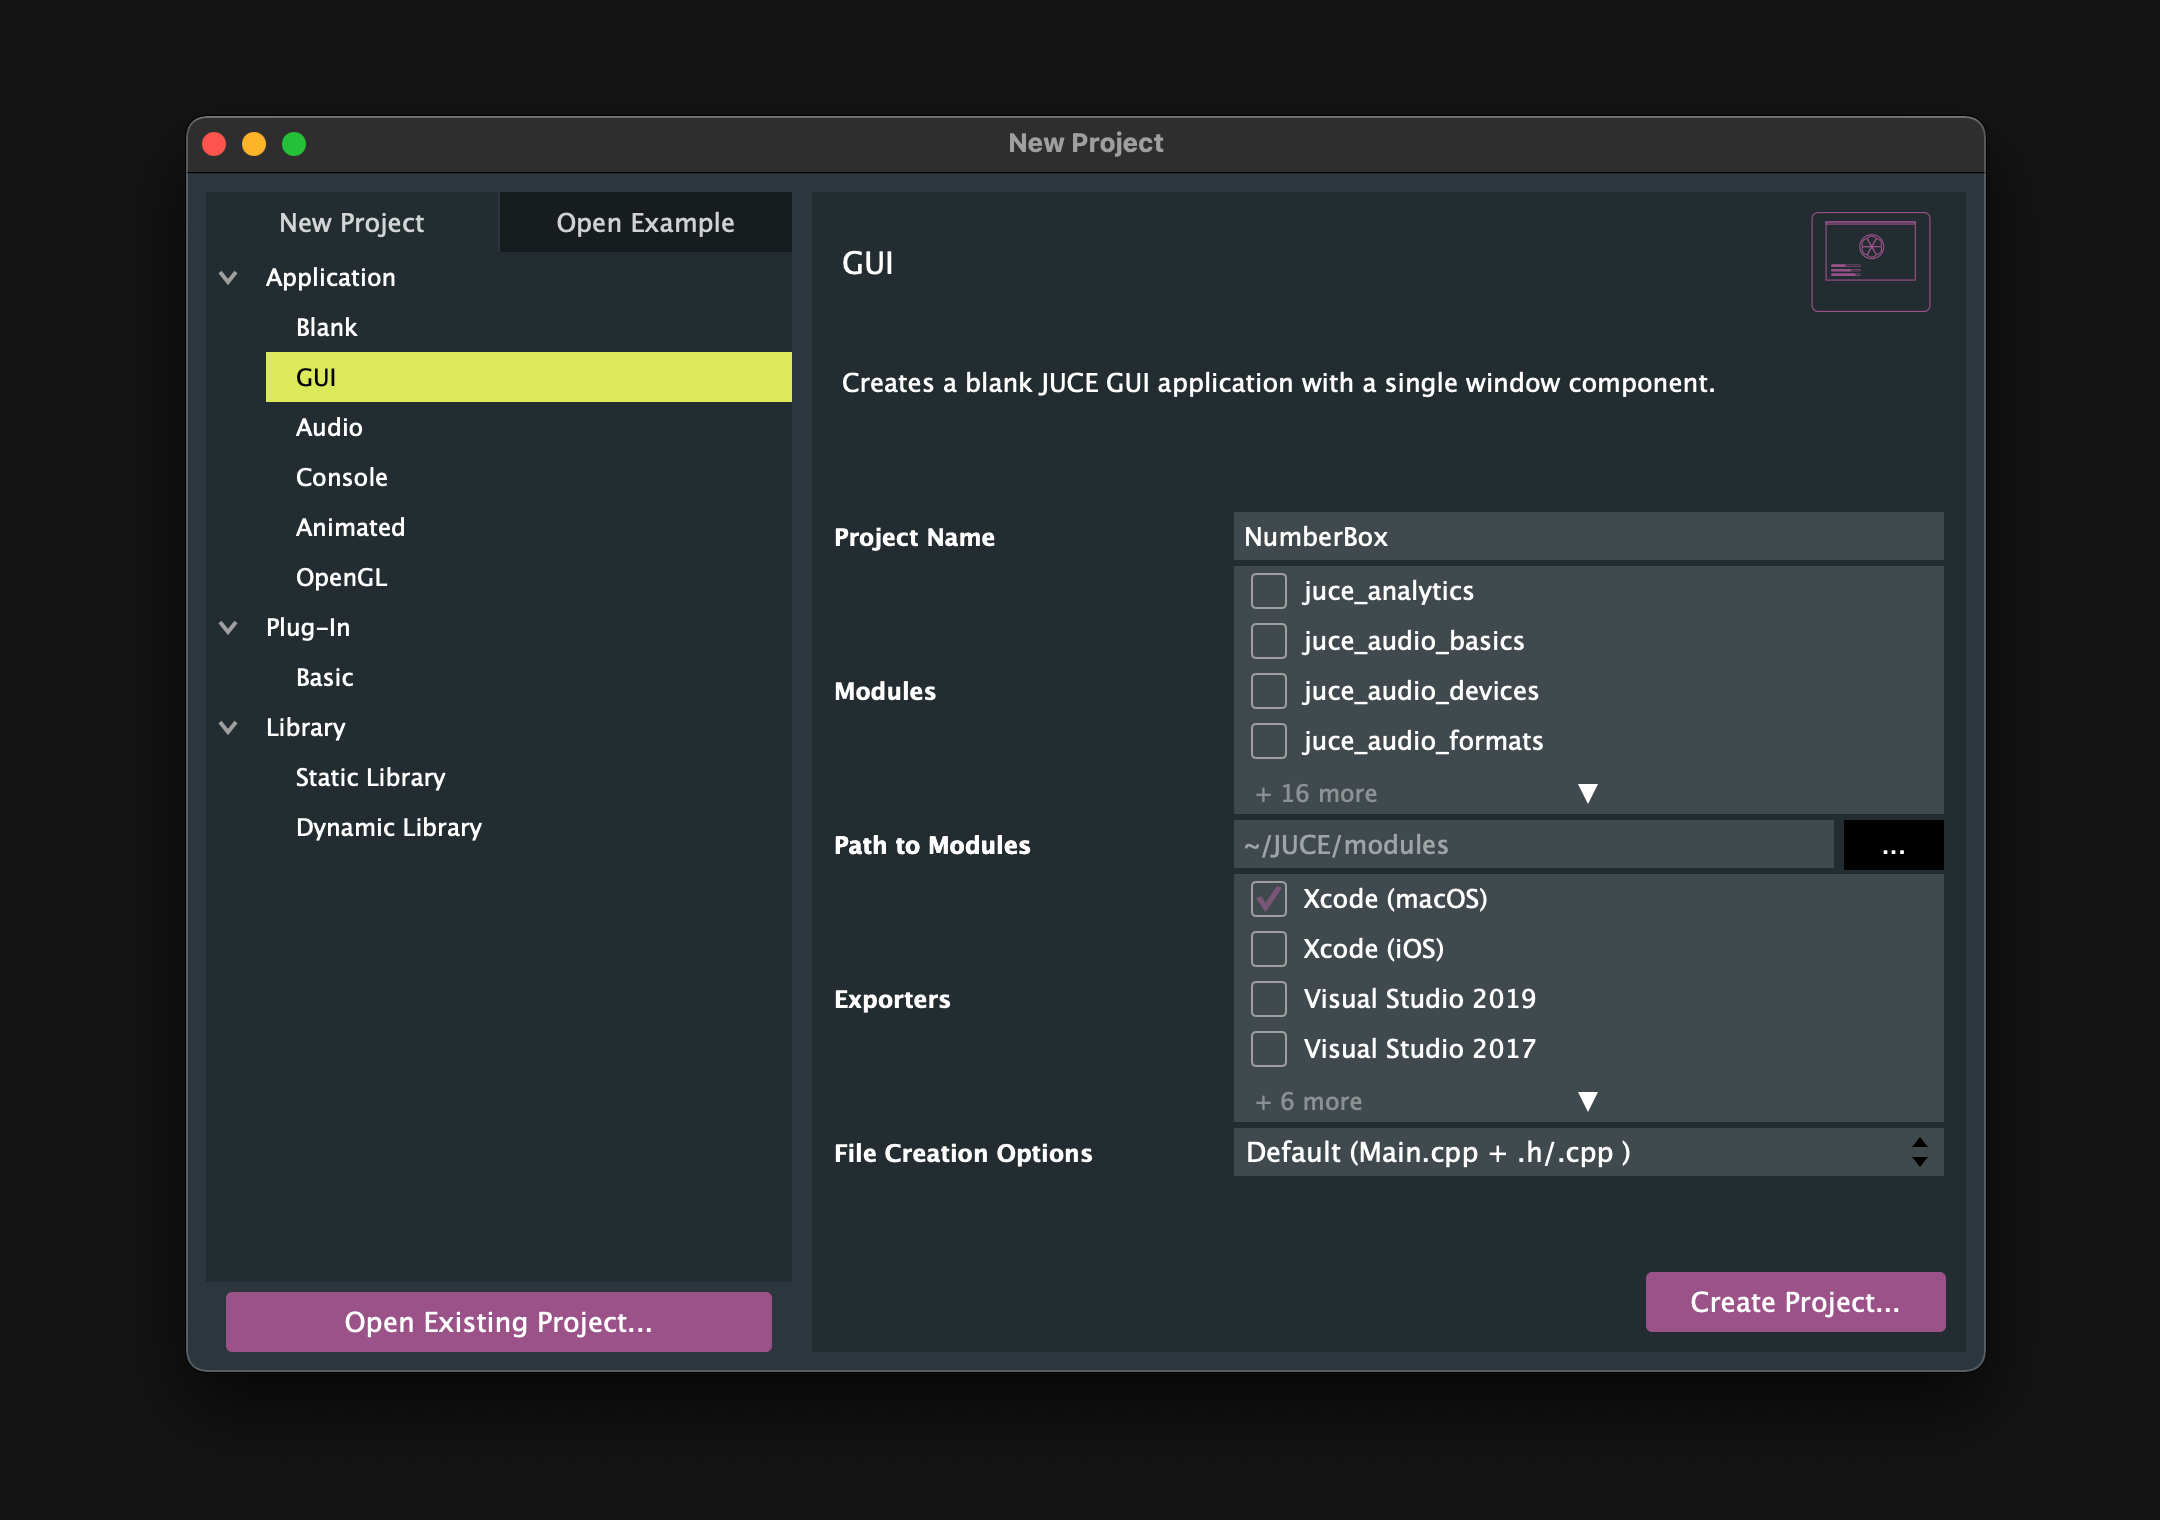
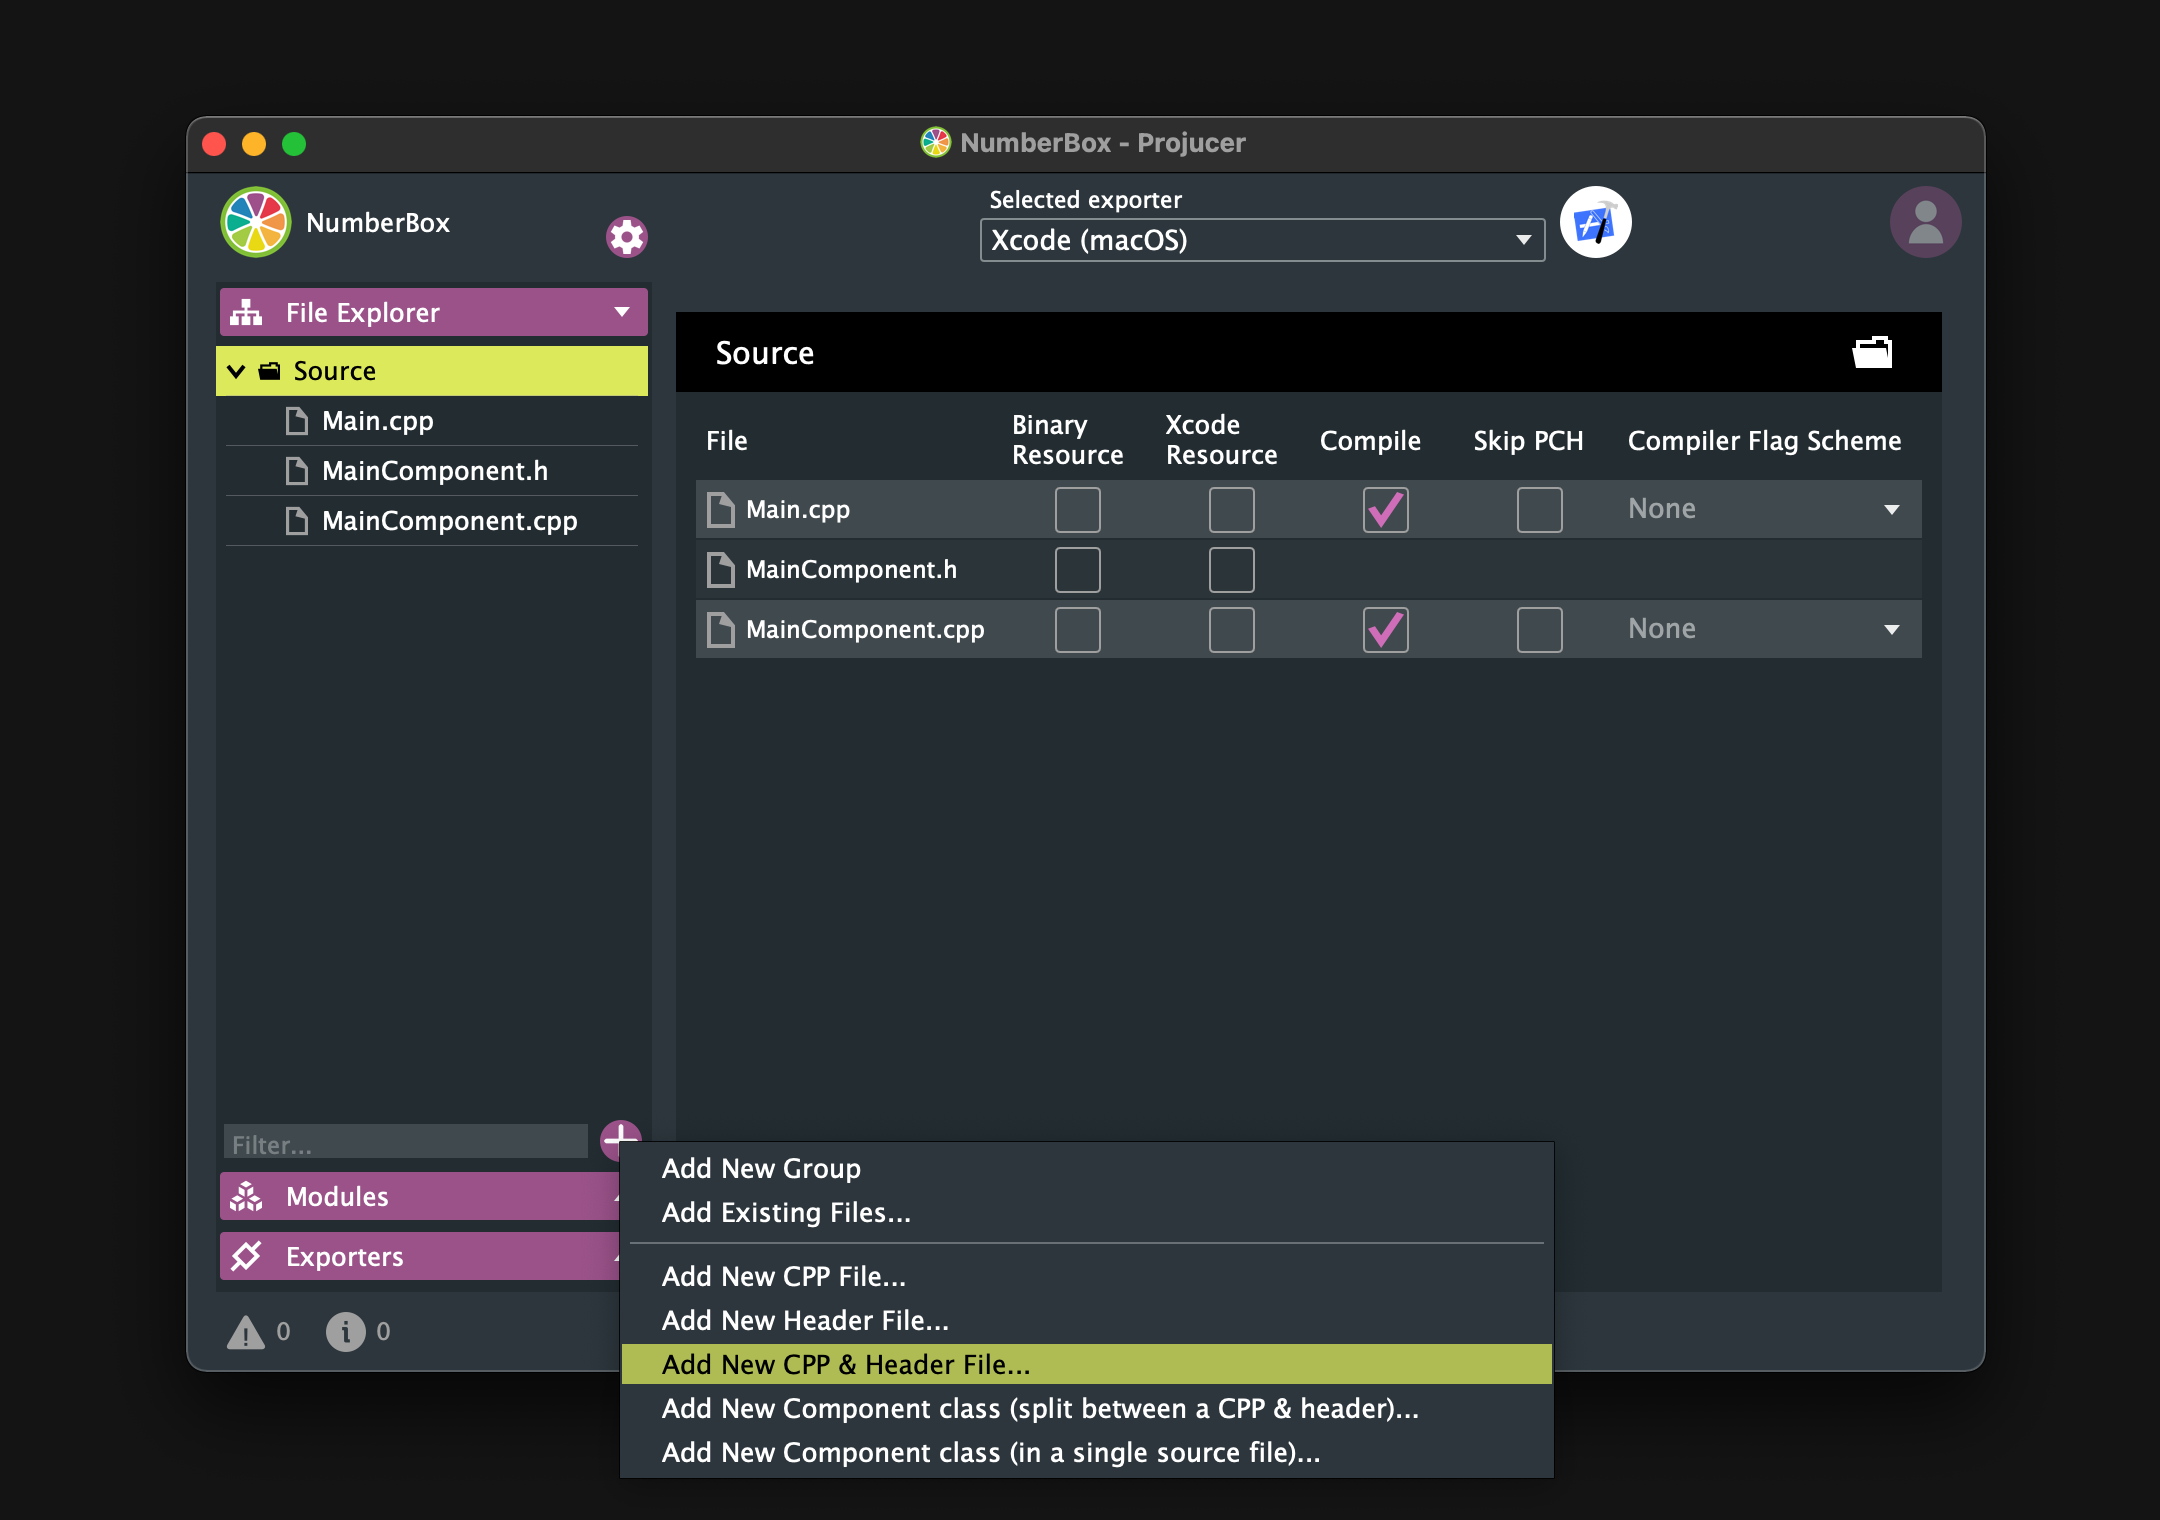
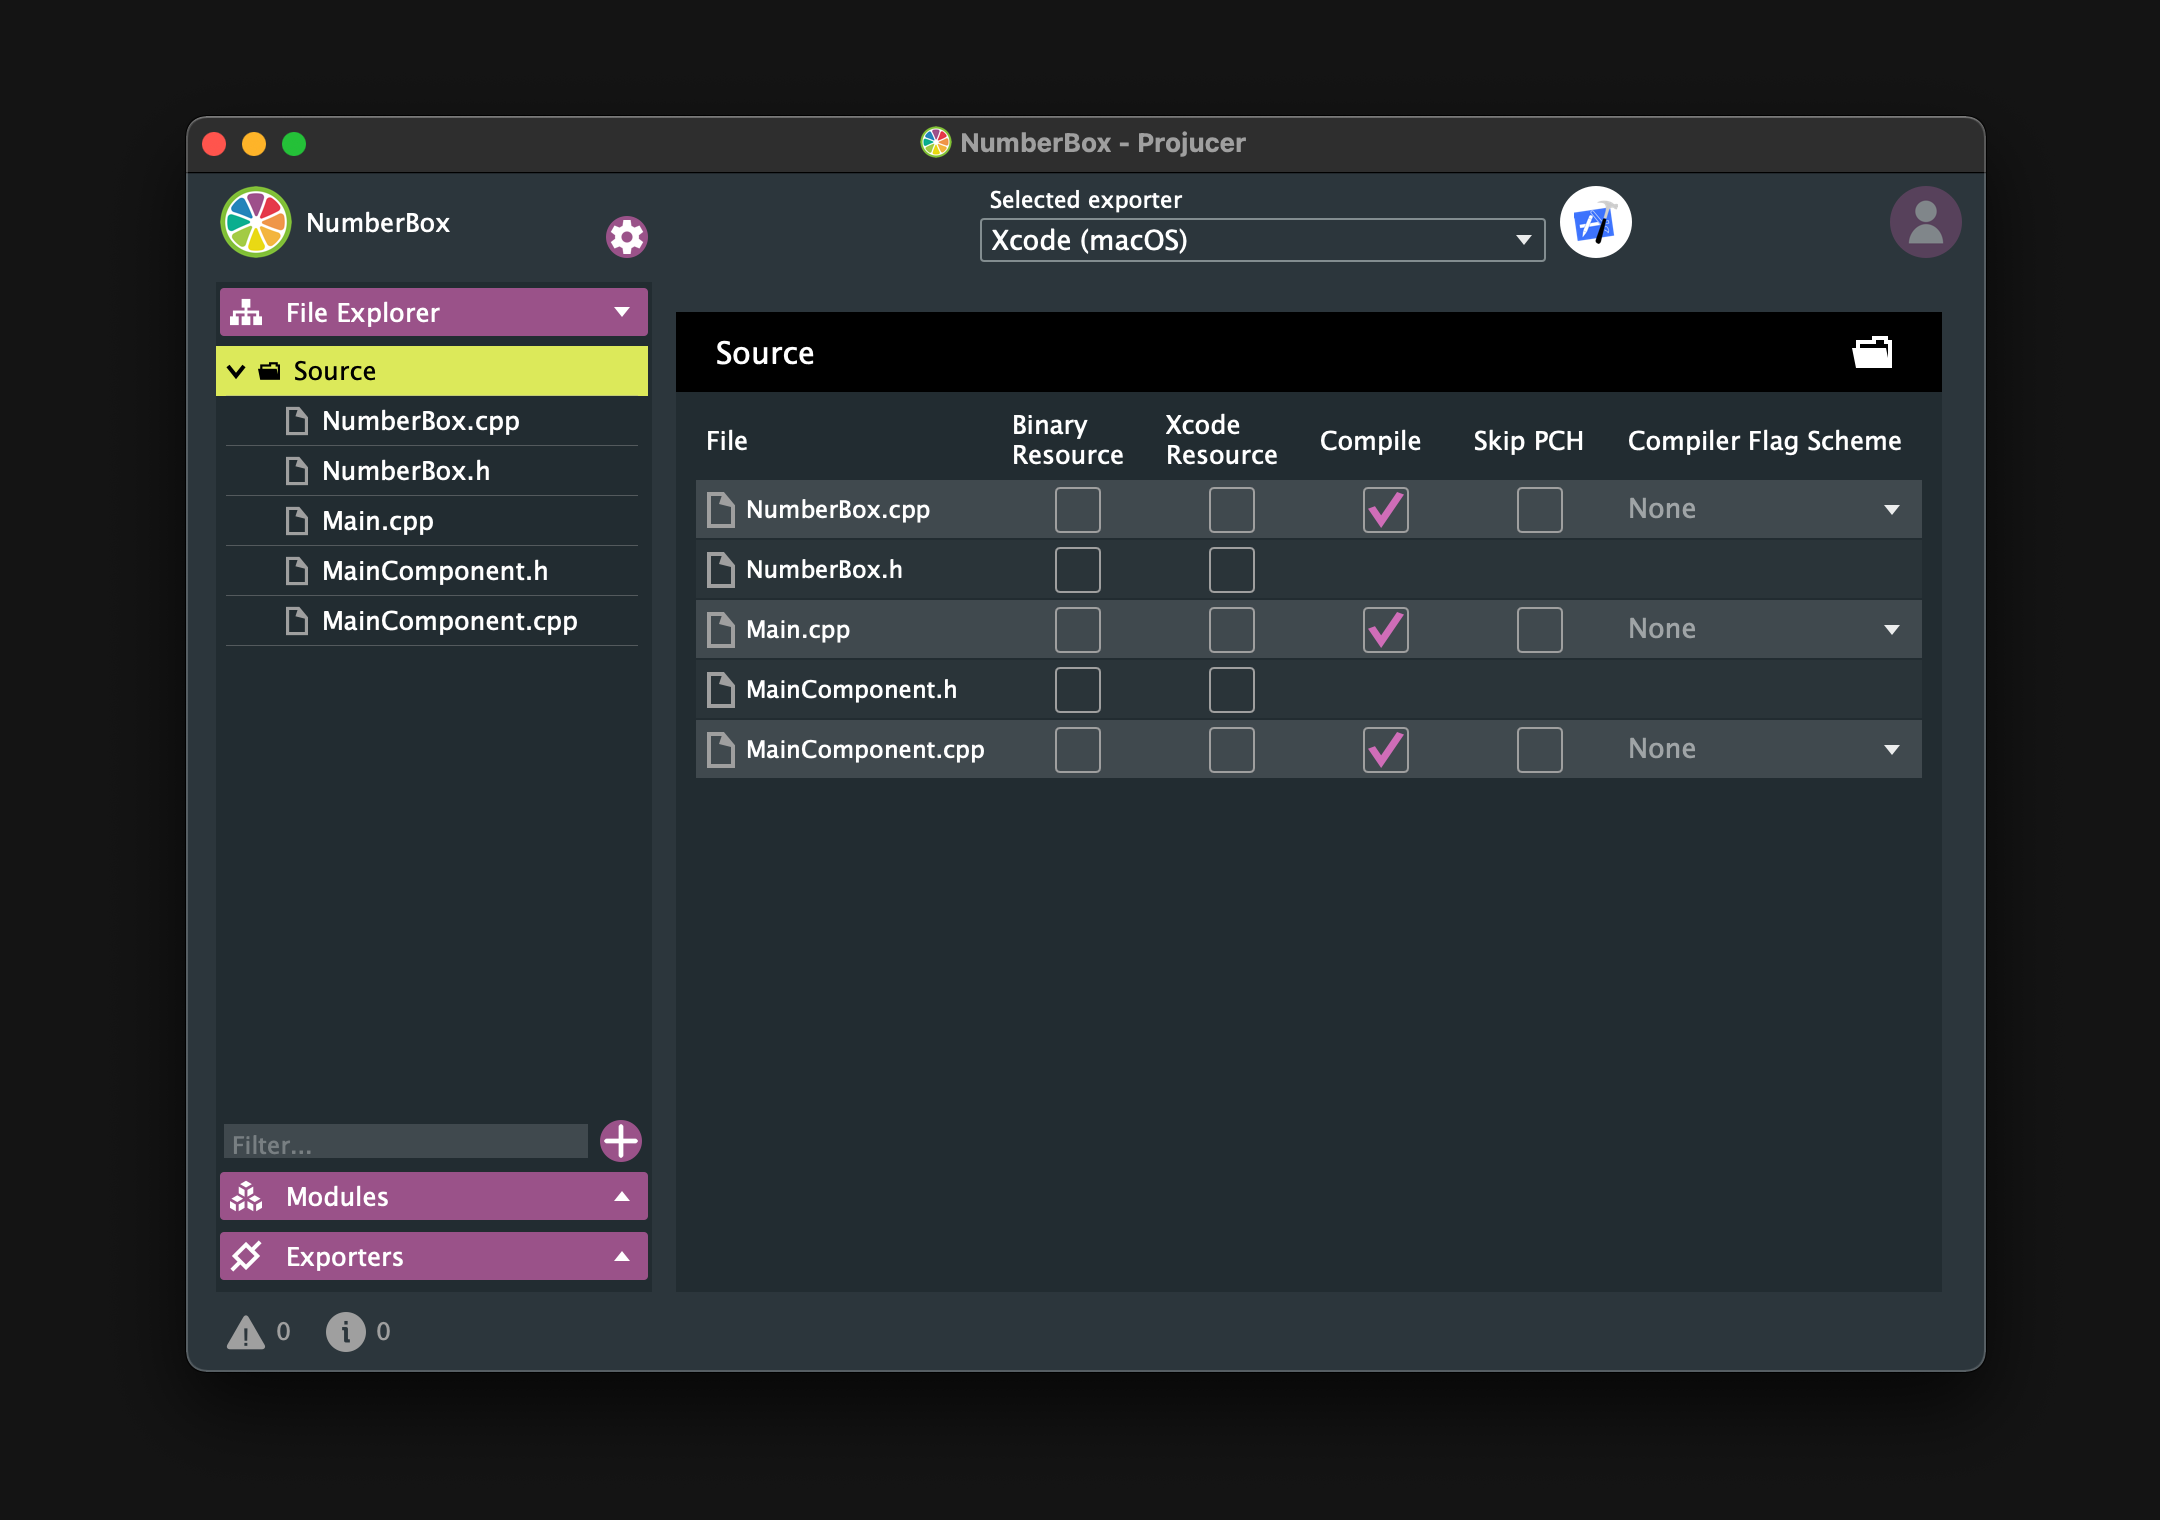
准备 在Projucer中的添加 创建一个GUI project命名为NumberBox:
基本模型 在这一章,我们将设计NumberBox最基础的部分。
自定义Slider NumberBox的本质依旧是一个Slider,通过拖拽来改变它的值,所以我们可以通过自定义juce::Slider 来实现。
1 2 3 4 5 6 7 8 9 10 11 12 13 14 15 #pragma once #include <JuceHeader.h> class NumberBox :public juce::Slider{ public : NumberBox (); ~NumberBox (); void paint (juce::Graphics& g) override void mouseDown (const juce::MouseEvent& event) override void mouseUp (const juce::MouseEvent& event) override };
1 2 3 4 5 6 7 8 9 10 11 12 13 14 15 16 17 18 19 20 21 22 23 24 25 26 27 28 29 30 31 32 33 34 35 36 37 38 39 40 41 42 43 44 45 46 47 48 49 50 51 52 53 54 55 56 57 58 59 60 61 62 63 64 65 66 67 68 69 70 71 72 73 #include "NumberBox.h" NumberBox::NumberBox () { setSliderStyle (juce::Slider::LinearBarVertical); setColour (juce::Slider::trackColourId, juce::Colours::transparentWhite); setTextBoxIsEditable (false ); setVelocityBasedMode (true ); setVelocityModeParameters (0.5 , 1 , 0.09 , false ); setRange (0 , 100 , 0.01 ); setValue (50.0 ); setDoubleClickReturnValue (true , 50.0 ); setTextValueSuffix (" %" ); setWantsKeyboardFocus (true ); onValueChange = [&]() { if (getValue () < 10 ) setNumDecimalPlacesToDisplay (2 ); else if (10 <= getValue () && getValue () < 100 ) setNumDecimalPlacesToDisplay (1 ); else setNumDecimalPlacesToDisplay (0 ); }; } NumberBox::~NumberBox (){} void NumberBox::paint (juce::Graphics& g) if (hasKeyboardFocus (false )) { auto bounds = getLocalBounds ().toFloat (); auto h = bounds.getHeight (); auto w = bounds.getWidth (); auto len = juce::jmin (h, w) * 0.15f ; auto thick = len / 1.8f ; g.setColour (findColour (juce::Slider::textBoxOutlineColourId)); g.drawLine (0.0f , 0.0f , 0.0f , len, thick); g.drawLine (0.0f , 0.0f , len, 0.0f , thick); g.drawLine (0.0f , h, 0.0f , h - len, thick); g.drawLine (0.0f , h, len, h, thick); g.drawLine (w, 0.0f , w, len, thick); g.drawLine (w, 0.0f , w - len, 0.0f , thick); g.drawLine (w, h, w, h - len, thick); g.drawLine (w, h, w - len, h, thick); } } void NumberBox::mouseDown (const juce::MouseEvent& event) juce::Slider::mouseDown (event); setMouseCursor (juce::MouseCursor::NoCursor); } void NumberBox::mouseUp (const juce::MouseEvent& event) juce::Slider::mouseUp (event); juce::Desktop::getInstance ().getMainMouseSource ().setScreenPosition (event.source.getLastMouseDownPosition ()); setMouseCursor (juce::MouseCursor::NormalCursor); }
构造函数 在构造函数中被用到的几个函数中,下列的几个是非常重要的:
setSliderStyle
setColour
setVelocityBasedMode
setVelocityModeParameters
onValueChange
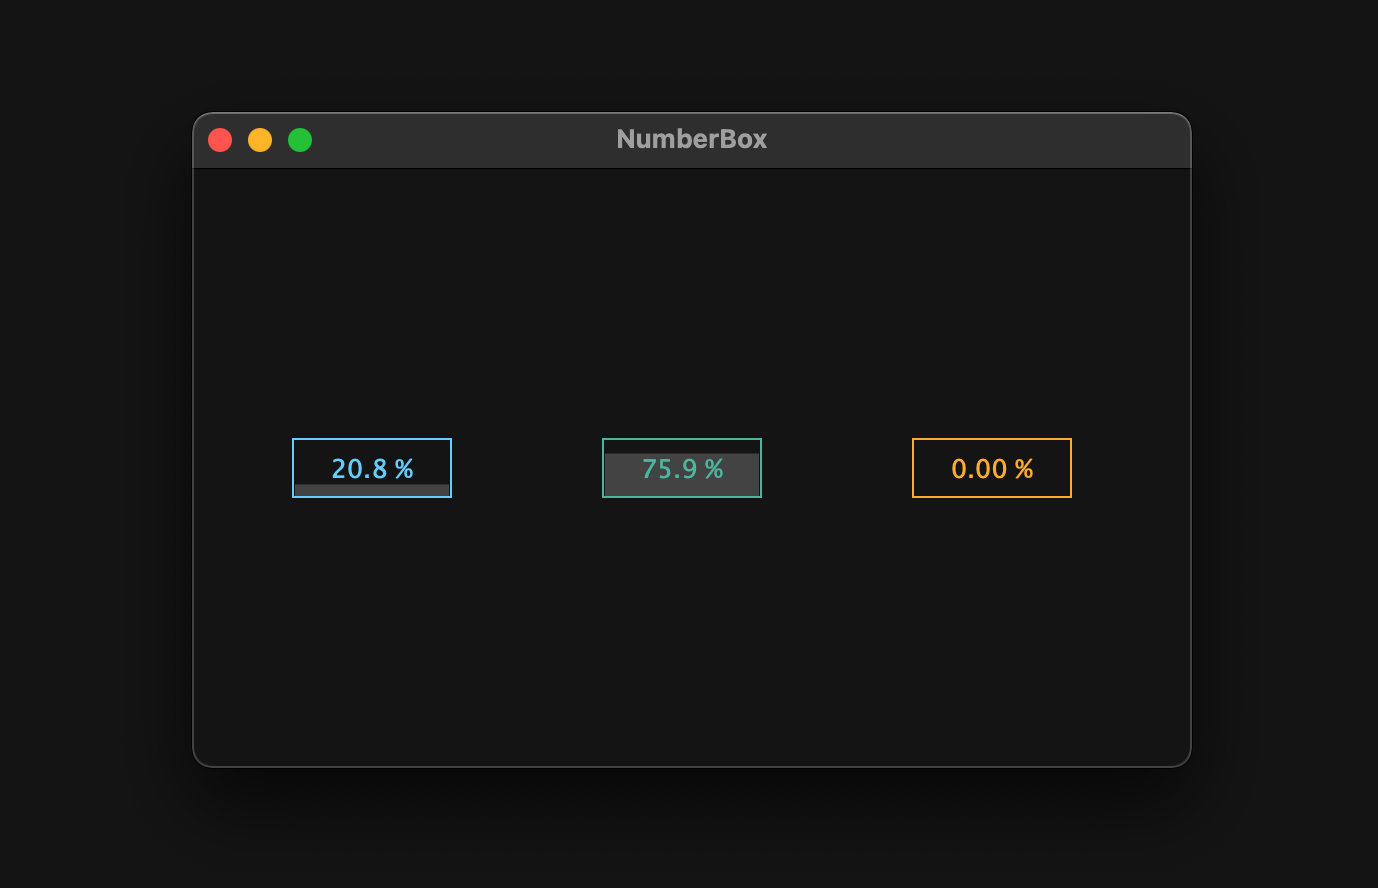
首先,setSlider() 是一个用来定义slider风格的成员函数,如果你把它设置成juce::Slider::LinearBarVertical ,它看起来是这样的:setColour 中添加juce::Colours::tranparentWhite 来让它保持透明。
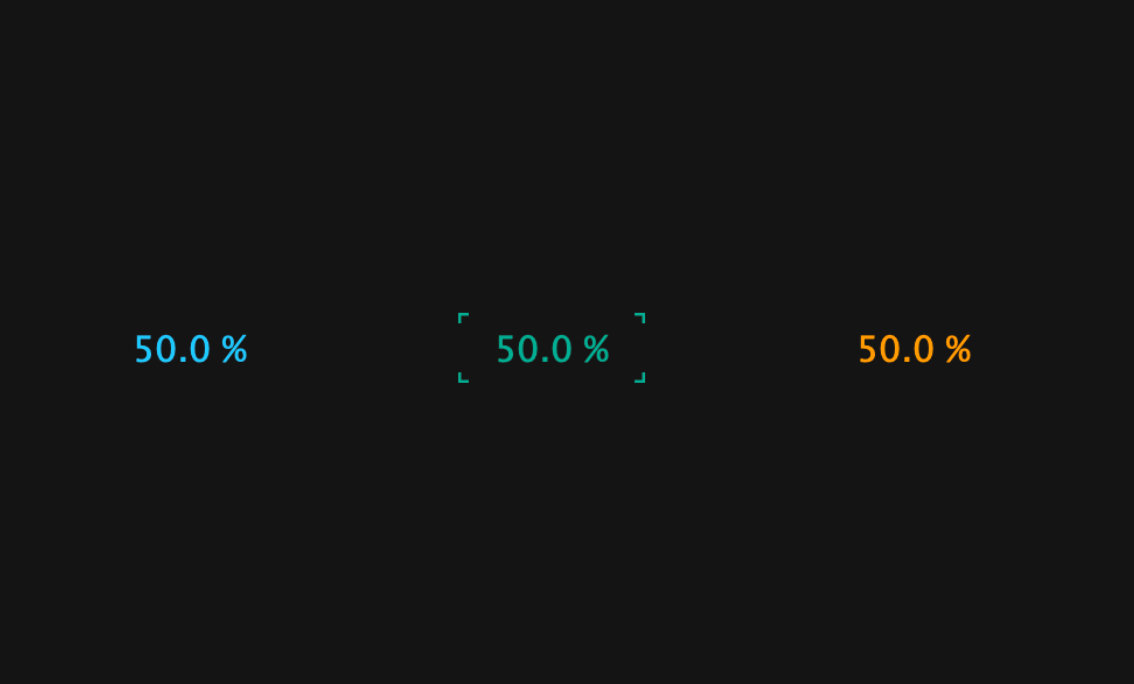
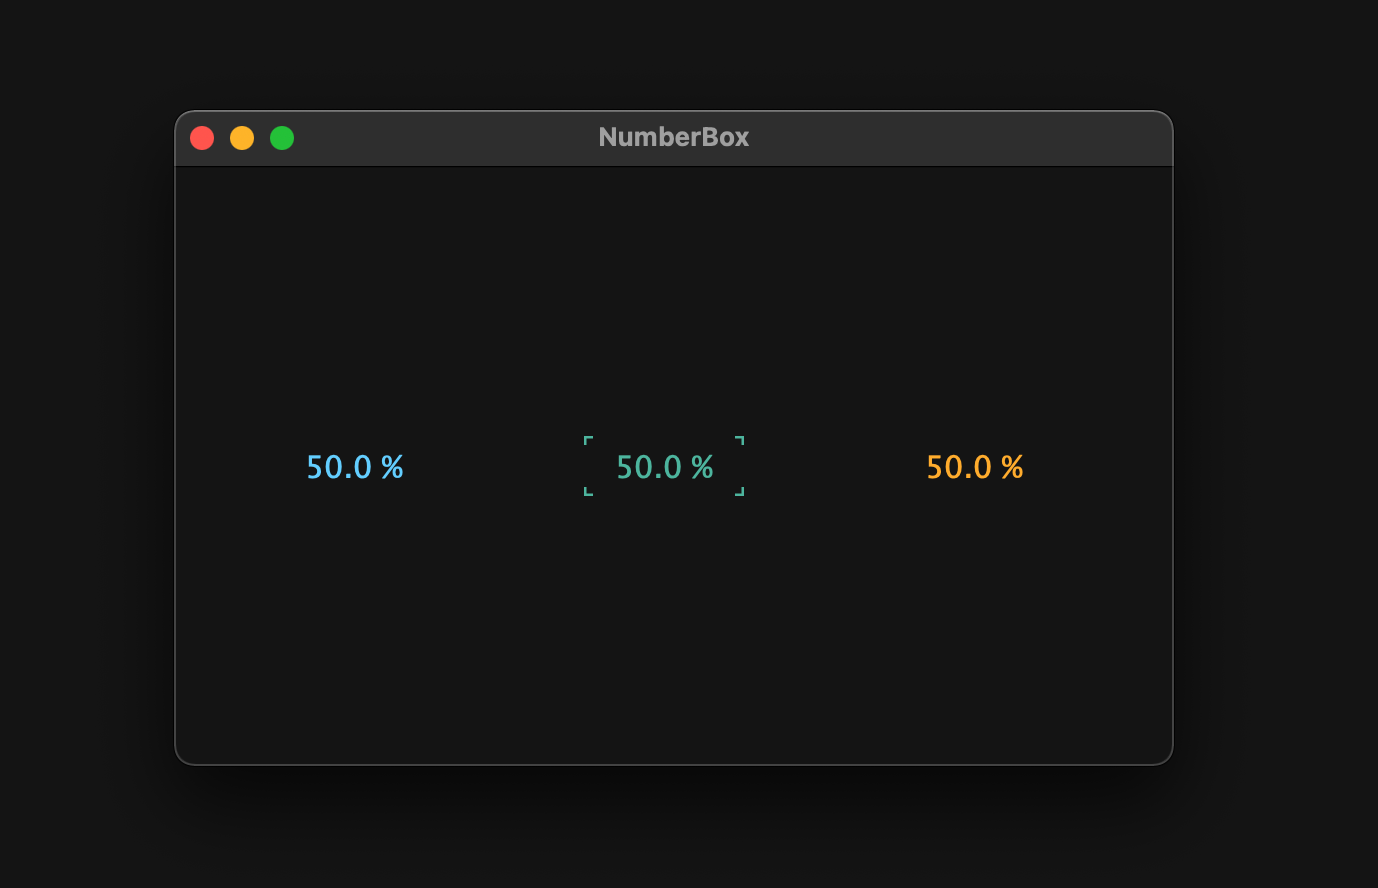
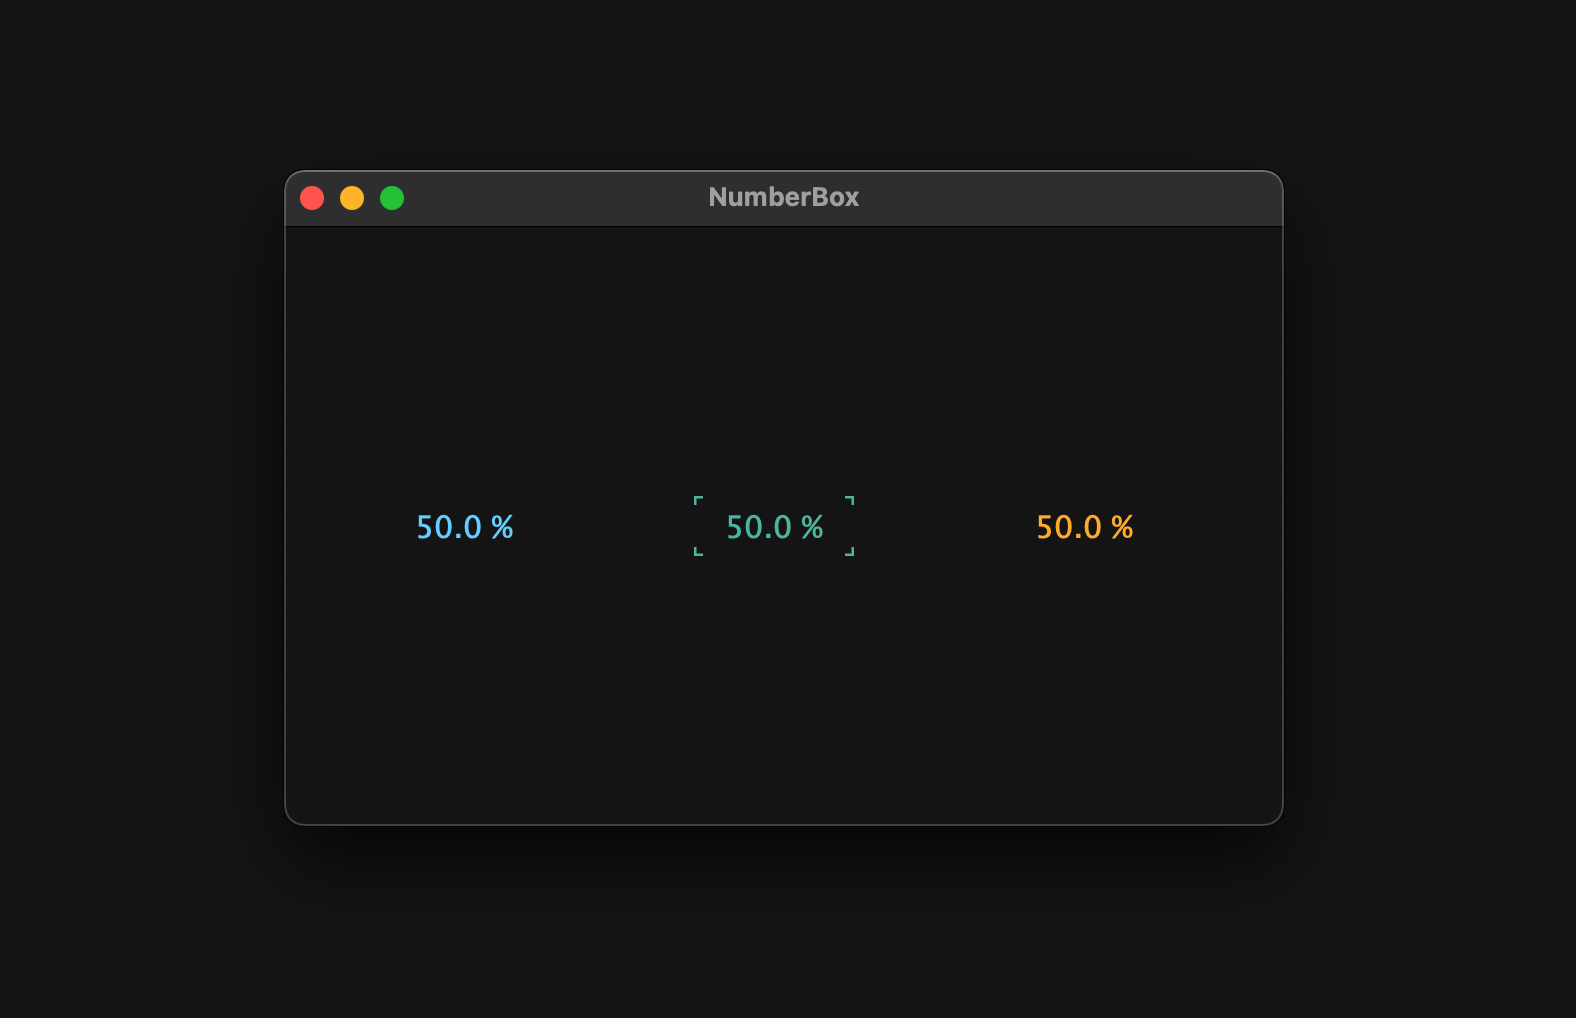
paint 通过这个函数,我们对NumberBox施加了lock-on mark,在它被focus的时候四个角上会出现这样的focus mark:hasKeyboardFocus() 函数来判断NumberBox是否正在被focus,同时我们还需要使用setWantsKeyBoardFocus(true) 赋予其focus。但是至此我们还没有设计CuntomLookAndFeel,所以lock-on mark暂时不会被渲染出来。
mouseDown/mouseUP 在mouseDown() 中,我们让光标在鼠标在点击下去的瞬间被隐藏,因为光是velocity mode的话直到开始拖拽鼠标才会被隐藏。mouseUp() 中,当鼠标抬起时,光标出现,同时鼠标回到它点击时的位置,即拖拽前的位置。
MainComponent.h/.cpp 好了,现在我们已经完成了NumberBox最基础的设计,把它添加到MainComponent 中。
然后如下声明三种颜色的NumberBox对象:
1 2 3 4 5 6 7 8 9 10 11 12 13 14 15 class MainComponent :public juce::Component{ public :・・・ private : NumberBox blueBox, greenBox, yellowBox; juce::Colour blue = juce::Colour::fromFloatRGBA (0.43f , 0.83f , 1.0f , 1.0f ); juce::Colour green = juce::Colour::fromFloatRGBA (0.34f , 0.74f , 0.66f , 1.0f ); juce::Colour yellow = juce::Colour::fromFloatRGBA (1.0f , 0.71f , 0.2f , 1.0f ); juce::Colour black = juce::Colour::fromFloatRGBA (0.08f , 0.08f , 0.08f , 1.0f ); JUCE_DECLARE_NON_COPYABLE_WITH_LEAK_DETECTOR (MainComponent) };
最后,将MainComponent.cpp修改如下:
1 2 3 4 5 6 7 8 9 10 11 12 13 14 15 16 17 18 19 20 21 22 23 24 25 26 27 28 29 30 31 32 33 34 35 36 37 MainComponent::MainComponent () { setSize (500 , 300 ); setWantsKeyboardFocus (true ); blueBox.setColour (juce::Slider::textBoxTextColourId, blue); blueBox.setColour (juce::Slider::textBoxOutlineColourId, blue); greenBox.setColour (juce::Slider::textBoxTextColourId, green); greenBox.setColour (juce::Slider::textBoxOutlineColourId, green); yellowBox.setColour (juce::Slider::textBoxTextColourId, yellow); yellowBox.setColour (juce::Slider::textBoxOutlineColourId, yellow); addAndMakeVisible (blueBox); addAndMakeVisible (greenBox); addAndMakeVisible (yellowBox); } MainComponent::~MainComponent () { } void MainComponent::paint (juce::Graphics& g) g.fillAll (black); } void MainComponent::resized () auto bounds = getLocalBounds ().withSizeKeepingCentre (80 , 30 ); blueBox.setBounds (bounds.withX (50 )); greenBox.setBounds (bounds.withX (205 )); yellowBox.setBounds (bounds.withX (360 )); }
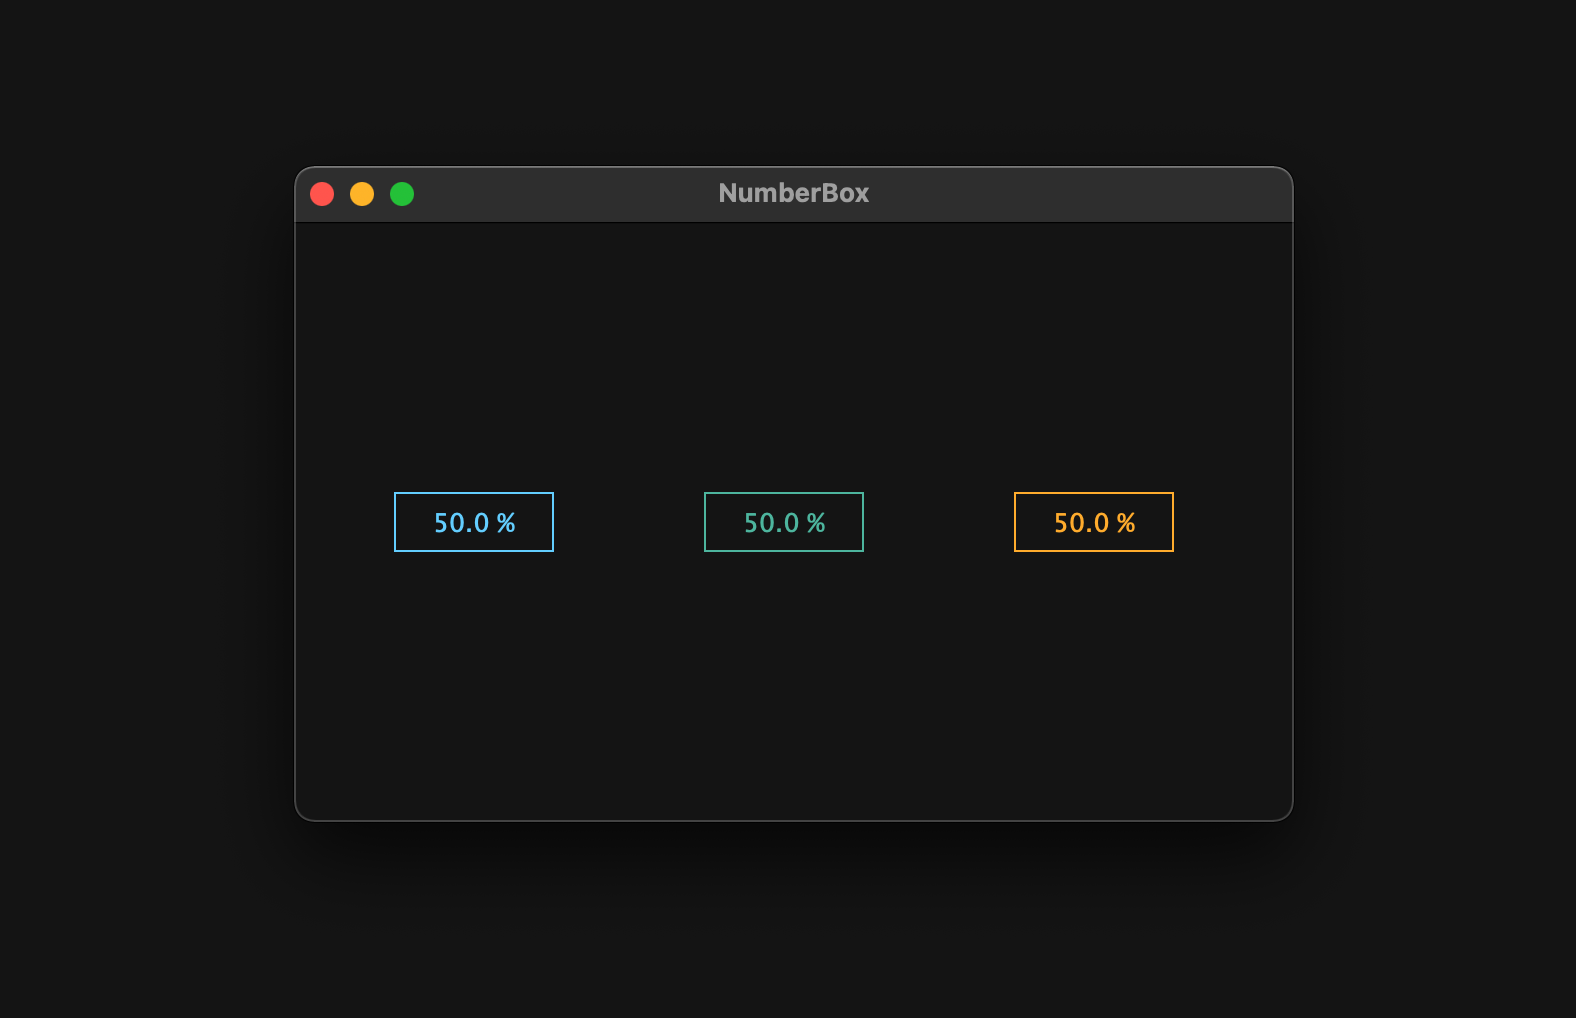
编译运行
CustomLookAndFeel 在这一章中,我们将改变caret的颜色,同时让focus mark出现。
Customizing LookAndFeel 在NumberBox.h的最上方声明并override这两个函数 createCaretComponent() 和**createSliderTextBox()**:
1 2 3 4 5 6 7 class CustomLookAndFeel :public juce::LookAndFeel_V4{ public : juce::CaretComponent* createCaretComponent (juce::Component* keyFocusOwner) override ; juce::Label* createSliderTextBox (juce::Slider& slider) override ; };
然后在NumberBox class中声明CustomLookAndFeel class对象:
1 2 3 4 5 6 7 8 9 class NumberBox :public juce::Slider, public juce::KeyListener{ public :・・・ private : CustomLookAndFeel customLookAndFeel; ・・・ };
上面两个override的函数的额定义如下:
1 2 3 4 5 6 7 8 9 10 11 12 13 14 15 16 17 18 19 20 21 22 juce::CaretComponent* CustomLookAndFeel::createCaretComponent (juce::Component* keyFocusOwner) auto caret = new juce::CaretComponent (keyFocusOwner); caret->setColour (juce::CaretComponent::caretColourId, keyFocusOwner->findColour (juce::Label::textColourId)); return caret; } juce::Label* CustomLookAndFeel::createSliderTextBox (juce::Slider& slider) auto * l = new juce::Label (); l->setJustificationType (juce::Justification::centred); l->setColour (juce::Label::textColourId, slider.findColour (juce::Slider::textBoxTextColourId)); l->setColour (juce::Label::textWhenEditingColourId, slider.findColour (juce::Slider::textBoxTextColourId)); l->setColour (juce::Label::outlineWhenEditingColourId, juce::Colours::transparentWhite); l->setFont (18 ); return l; }
在createCaretComponent() 函数中,我们将caret的颜色设置成与juce::Label::textColourId 相同的颜色,而juce::Label::textColourId 又是被设定跟createSliderTextBox() 中juce::Slider::textBoxTextColourId 相同的颜色。因此,你能够通过在NumberBox处改变颜色就能改变caret的颜色。setLookAndFeel() 函数来将CustomLookAndFeel应用到NumberBox中:
1 2 3 4 5 6 7 8 9 10 11 NumberBox::NumberBox () { setLookAndFeel (&customLookAndFeel); ・・・ } NumberBox::~NumberBox () { setLookAndFeel (nullptr ); }
编译运行
编辑模式 在最后一章中,我们将对NumberBox加入一个新特性,就是可编辑性。你可以点击后输入你想要的值,然后按下回车更新数据。
Customizing Label 当juce::TextEditor可编辑时,juce::Lebal将显示它,所以我们需要改变一些TextEditor的设置。
1 2 3 4 5 6 7 8 9 class CustomLabel :public juce::Label{ public : static juce::String initialPressedKey; juce::TextEditor* createEditorComponent () override ; void editorShown (juce::TextEditor* editor) override };
1 2 3 4 5 6 7 class CustomLookAndFeel :public juce::LookAndFeel_V4{ public :・・・ CustomLabel* createSliderTextBox (juce::Slider& slider) override ; };
1 2 3 4 5 6 7 8 9 10 11 12 13 14 15 16 17 18 19 20 juce::String CustomLabel::initialPressedKey = "" ; juce::TextEditor* CustomLabel::createEditorComponent () auto * ed = juce::Label::createEditorComponent (); ed->setJustification (juce::Justification::centred); ed->setColour (juce::TextEditor::backgroundColourId, juce::Colours::transparentWhite); ed->setInputRestrictions (5 , "0123456789." ); ed->setIndents (4 , -1 ); return ed; } void CustomLabel::editorShown (juce::TextEditor* editor) editor->clear (); editor->setText (initialPressedKey); }
1 2 3 4 5 6 CustomLabel* CustomLookAndFeel::createSliderTextBox (juce::Slider& slider) auto * l = new CustomLabel (); ・・・ }
关键点在于createSliderTextBox 的返回值已经从juce::Label转变为CustomLabel。通过这样,现在customized label被用于绘制NumberBox。
Overring keyPressed 接下来重写**keyPressed()**,它将在得到focus和有输入时被调用。
1 2 3 4 5 6 class NumberBox :public juce::Slider{ public :・・・ bool keyPressed (const juce::KeyPress& k) override
1 2 3 4 5 6 7 8 9 10 11 12 13 bool NumberBox::keyPressed (const juce::KeyPress& k) if ('0' <= k.getKeyCode () && k.getKeyCode () <= '9' ) { CustomLabel::initialPressedKey = juce::String::charToString (k.getTextCharacter ()); showTextBox (); return true ; } return false ; }
当一个0~9的数字被输入时,text editor就会被渲染出来,同时带有你输入的数字。setWantsKeyBoardFocus() 设置为true:
1 2 3 4 5 6 NumberBox::NumberBox () { ・・・ setWantsKeyboardFocus (true ); }
编译运行
总结 这篇教程解释了如何自定义NumberBox的UI和功能。如果有不明白的地方,欢迎反馈!
